Important! Please read the announcement at http://myst.dustbird.net/uru-account.htm
Also! Please read the retirement announcement at http://myst.dustbird.net/uru-retirement.htm
Blending Textures Using Stencils
Please note that this tutorial assumes that you know how to do the basics of applying Materials and Textures to an object in Blender, and how to UV Map those textures to the objects. If you don't know how to do this, please read the Textures 101 tutorial.
Contents
Why Blend Textures?
If you're just starting out with Age Creation, one of the things that might be frustrating for you, is making things look natural. Dirt paths, rock and dirt, these things tend to be blended, as in one texture does not suddenly stop and the next texture begins. Normally only human made objects look like that. Even rust, mold or dust and dirt that look blended on objects is from nature (you didn't buy the lawn chair from the store with rust on it, now did you?).
This tutorial will attempted to show you how to achieve blended textures in your Age.
Getting Started....
Obviously, you need to have your object already made in Blender. You also need to decide what textures you want to blend.
Is it a dirt path through some grass? Is it a old rock wall with moss on it? Whatever the case may be, you need to go ahead and make a material and apply a texture to the object that is the "base" texture. This is the texture that the MAJORITY of the texture is going to be seen. In the case of a rock wall with some moss, the rock texture will be the base. If it's a dirt path, the dirt texture will be the base for it.
So go ahead and get a Material added to the object, apply the texture, and get it UV Mapped how we wanted. Once you've done that, we can move on to blending another texture on it.
Applying Another Texture
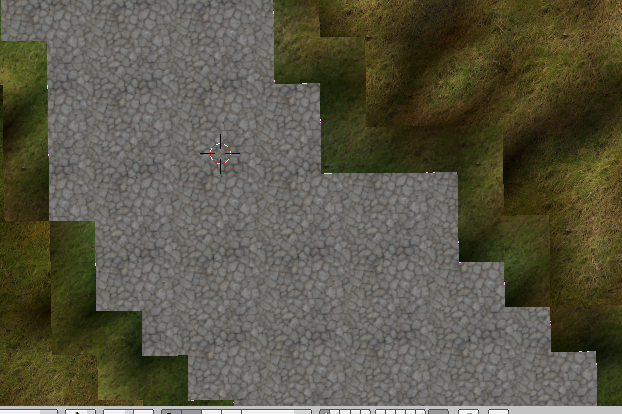
Okay, for my tutorial here, I'm going to use the cobble walkway that's in my Age of Eder Bahvahnin.
As you can see in the pic below, I have the walkway with a material and the base texture of cobble stone applied to it:
More than likely your object looks less jagged than mine (I was in a hurry as this was a RAD age...).
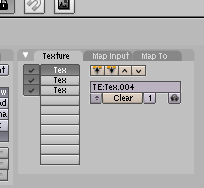
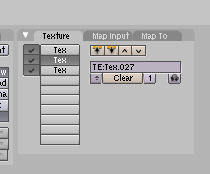
With the object selected, go into the Textures Panel. You will need to add 2 more textures to the object:
The 1st texture is the BASE texture, which is my cobble stone texture. It's also already UV Mapped too. Now click on New and add a 2nd texture. Set it up as a image, but DO NOT ADD A TEXTURE YET!
Next, add a 3rd texture to the object. This texture should be what you want to blend to. For me, I used a moss/clover texture:
Okay, now go back to the Materials Panel. Make sure you have the first (your BASE) texture selected, In my case it's the cobble stone.
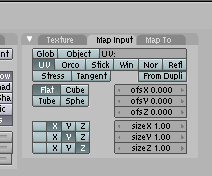
Click on the Map Input tab, and make sure you have UV selected.
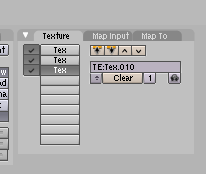
Now go back to the Texture tab, and select the 3rd texture:
Now go to the Map Input tab and make sure it also has the UV button selected:
That's it for this, don't worry about the 2nd texture, we'll come back to that.
UV Mapping
Okay, now it's time to make our actual stencil. What we are going to do is make a texture that will act just like a stencil in real life: block part of something, but let part of something through.
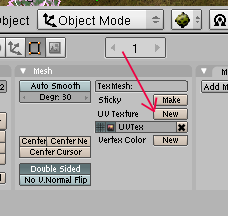
Got to the Edit Panel (note when I say Edit Panel, I mean the button with the square with the 4 orange dots. Look at the pic, and you can see I'm in Object Mode, but in the Edit Panel):
Look at where I'm pointing with my red arrow. As you can see we already have a UV mapped layer. That was the UV Map for the base texture. Also, that 3rd texture will be using it too. But we need to make a seperate map for our stencil, so click on the "New" button where my arrow is pointing.
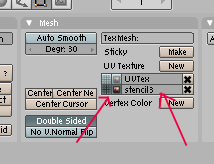
Now that you've done that, you need to do 3 things here. Look at the pic and where my arrows point to:
You need to click on the two little squares next to the new layer, and then you need to click on the name of the layer and give it a new name. I called mine "stencil3" in the picture.
Now that you've done that, you need to go to Edit Mode.
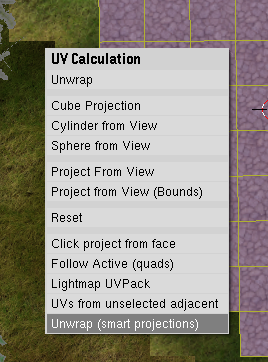
Once in Edit Mode, you need to unwrap this new UV layer differently from the first layer, so move your cursor into the 3D window and hit the "U" key to call up the unwrapping options:
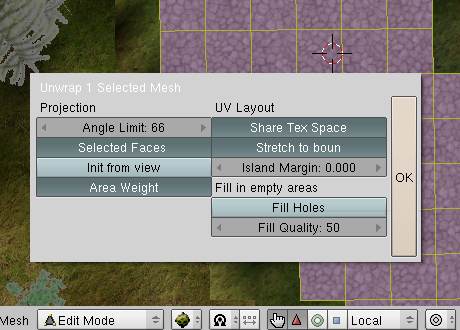
Select "smart projections". In the window that pops up, click on "ok"
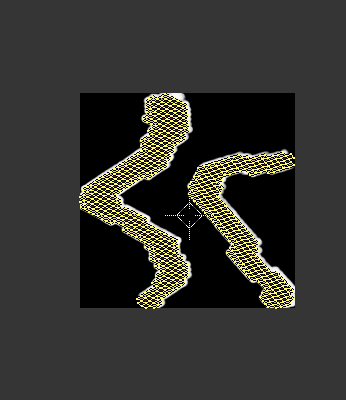
Now, as you can see in the UV Edit window, your object's faces are all laid out and contained within an area:
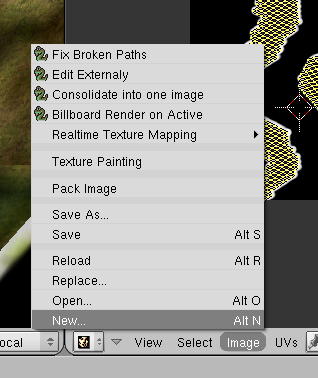
Now, in the UV Edit window, go to "Image" in the menu bar, and select "New"
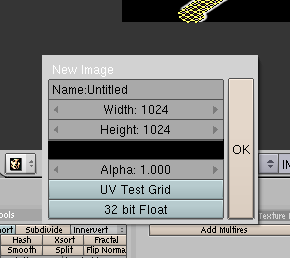
Another little box will pop up. Blender wants to know what size to make the new texture. Here is where you need to think again:
What is it you are blending? Is it large? Is it small? If you are blending something pretty small, I recommend making your new image small, say like 256 x 256, but if your object is quite large, you might want to make the image a lot larger. In my case, the walk way is quite long, so I used 1024 x 1024. Keep in mind however, the larger you make the image, the larger your texture file for your Age is going to be:
Click on "ok" once you have your size.
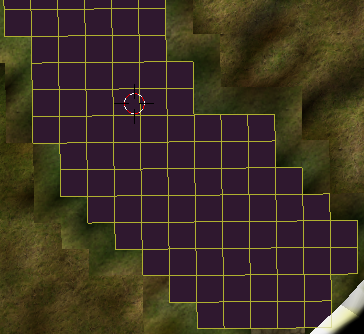
Now as you can see, your object went all black. Don't panic! It looks that way because we have this UV Layer selected.
And now you are fixing to change it by texture painting it!
Texture Painting
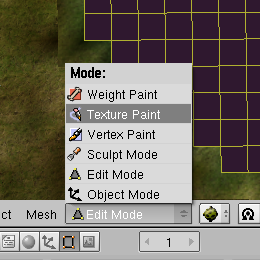
Now you need to go to Texture Paint Mode:
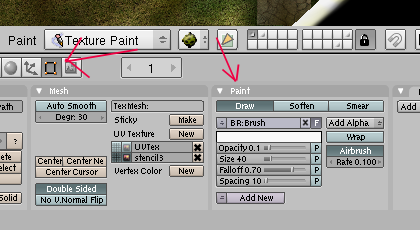
You also need to go to the Edit Panel. In the pic below, my first arrow point to the Edit Panel button. The 2nd arrow points to the controls for Texture Painting:
Now here is where you need to think again. Please note that the way the stencil works, Black is where your BASE texture will show up, and White is where the 3rd texture will show up. So faded white to grey will be a mixture of one fading into the other.
As you can see by these controls you have a lot of things to play with here. Oh and dont' use "Add Alpha" like you see in my picture, that's a oppsy on my part! You want it to say Lighten.
Now to paint, move your cursor into the 3D window and over your object. Notice that the cursor is now shaped like a paint brush. Click and hold the left mouse button, while moving the cursor over where you want to paint.
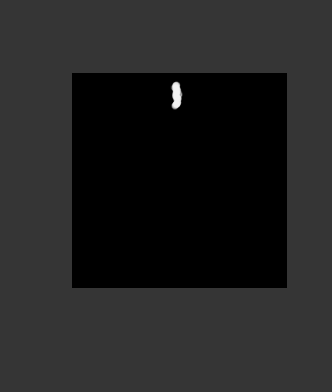
Each time you stop, you'll see the painting appearing on your image in the UV Edit window:
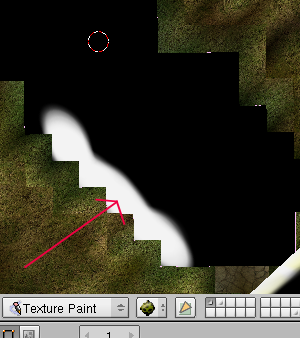
Now something to keep in mind here: When you unwrapped your object, it's possible for the faces to come very close together in your Image. Because of that, you need to be careful when you paint, or you can accidently overlap the painting onto another face of your object that you didn't mean to. In my pic below, my faces are not too close to gether, but if you look closely, you can see where the white is not just on the faces. If there had been other faces there, that white would have bled on to them:
If you need to zoom in and out, you can while painting by using your mouse wheel. If you need to move your scene around to get to other parts of the object, you can by going back to object mode, move your screen around, and then come back to Texture Paint Mode and continue painting.
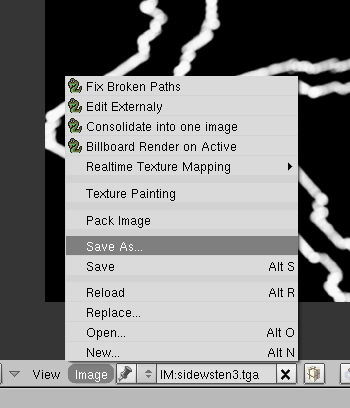
Once you are all done painting, it is now time to save the image we made. Go to your UV Edit window, and click on Image, and then Save As:
Save it in the same folder as the other textures of your Age. Give it a unique name. It will be saved as a .tga file.
Applying The Texture
Okay, you are almost done here.
Now it's time to go back to the texture panel and to that 2nd texture. Click on it, and now load up that image that you just saved.
Note where my 2nd Arrow points to in the Map Image tab. You need to make your buttons look like mine, and make sure CalcAlpha is on.
Now go to the Materials Panel, and make sure you have the 2nd Texture selected:
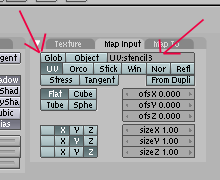
And then click on the Map Input tab. Set your buttons like mine in the pic below. Click on UV and then click in the UV Name box and type the name of your UV Layer, my name was "stencil3".
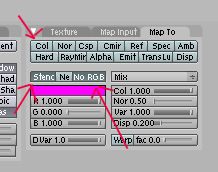
Last, go to the Map To tab. Set your buttons like mine in the pic below: Col is off, Stencil and No RGB are on.
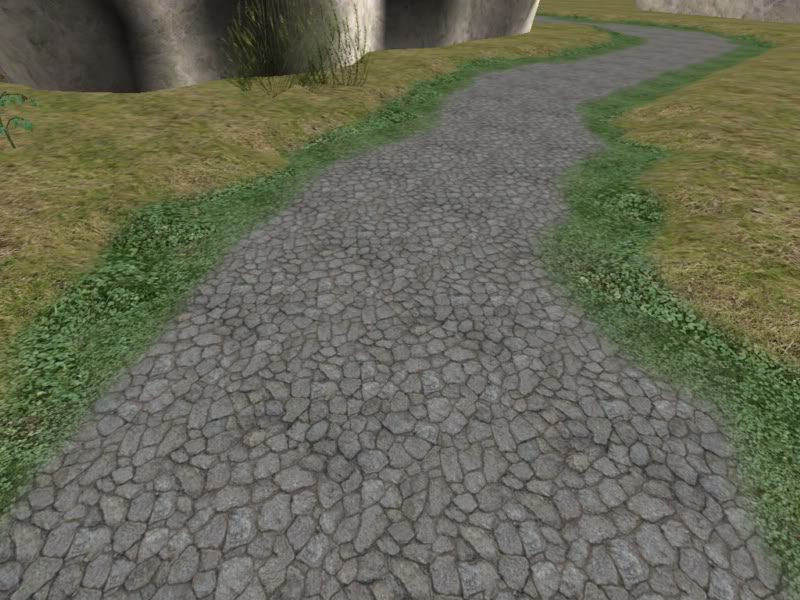
There you go! You're done! When you export and link in, you'll have two blended in textures, making the view a lot better:
Return To: Andy's Blender Tutorials
