Important! Please read the announcement at http://myst.dustbird.net/uru-account.htm
Also! Please read the retirement announcement at http://myst.dustbird.net/uru-retirement.htm
Textures 101
There are many, MANY different ways to texture objects in Blender. There are many tutorials out there dedicated to showing you how to make your objects look good, look real, and how to render them.
Unfortunately, many of the tutorials, their authors do not create Ages, or use the PyPRP Plugin. They, instead use Blender itself to render the objects, or use what they have made in other games.
Many people have stated when first learning Age Creation, that part of the problem is knowing how to texture well. That things they learned how to use with the Blender Tutorials, just don't seem to be working out with their Age.
There is a reason for this: many of Blender's features, used to create textures are not used by the Plugin when you export your Age. This limits you in many areas unfortunately.
But do not get upset, because how we do texture things will work just fine.
Things You'll Need....
Okay, here's a list of things you will need:
Blender ver 2.49a. The PyPRP Plugin and the associated files for exporting Ages.
Some textures (these will be images, I HIGHLY recommend using images that are in .png format) A photo imaging program (I recommend Gimp Shop. It's just like PhotoShop, only it's free and open source)
Optional: A Texture Making Program, like Genetica.
Note: You can actually use Blender itself to make textures. Just create a flat plane, then play with all the things you learned with the Blender Tutorials and make a great looking texture. Then render it as a image, and save that image.
Getting Started....
I'm going to start out with something very easy and simple to do. I will then be posting things that are harder to do. If you are completely new to Age Creation, I recommend following along here, NOT jumping to something else, as I'll make references to the easier stuff that you're suppose to know how to do! Won't work if you don't know how to do those things.
I'm going to simply use the default cube that appears when you first start up Blender, and show you how to give it a Material, texture, and UV Map it.
Open up Blender. Select that cube you see there, then click on the Materials Panel. Click on the button saying "New"
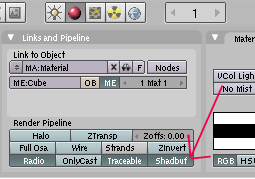
This is what should appear:
Okay, now there are somethings we need to change here. First is the ShadowBuff button. You need to turn it off, and REMEMBER THIS! Each time you create a new material for an object, that button will be ON. If you leave it on, and build a large Age, it will cause the Age to crash, as Plasma will be trying to make real time shadows for ALL your objects. It will be too much for your computer, and will shut the game down.
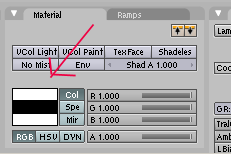
Next, you would normally change the colors you see here. The first one is Col and normally we make this one white. If you want to try and give you object a different looking Hue, you can try using a different color, but I don't normally use this, and simply set it white.
The other thing is the Spec color. You can change it to Black. This is what makes that shinny spot on the material, like the sun is shining on it. I normally have this turned off, and to do that you can simply change this color to black.
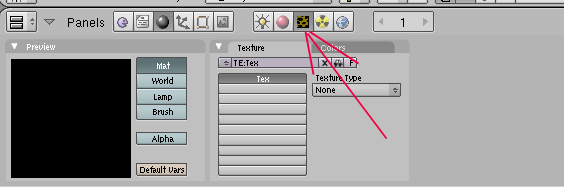
Okay, that this was the Material for the object. Now we want to set up a actual texture. Click on the Texture Tab:
Right now we don't have a texture set up. Normally we're going to use Images for this, and that's what is rendered in the game: your objects you build are covered with images.
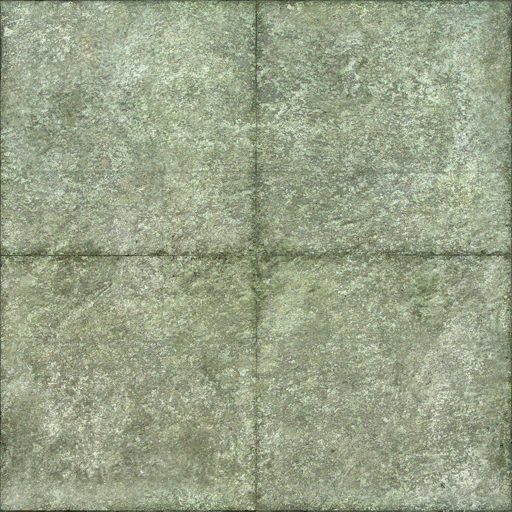
Here is an image that you can download and use to follow along with the tutorial:
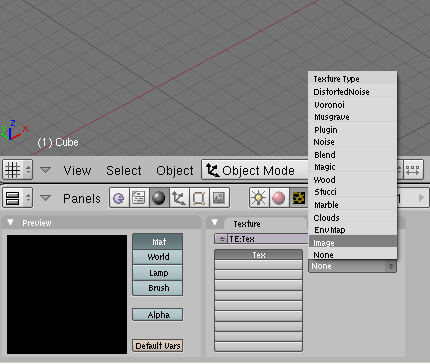
Now, once you have this image and have saved it to a place you can remember on your hard drive, go back to Blender and click on where it says Texture Type, and select Image.
Now click on the button that says "Load"
A directory tree will appear in one of your windows. Find and select the texture I gave you (or one that you want to use). NOTE: It's always a good idea to keep all your textures that you want to use for an Age in the same folder.
Okay, that's all we need to do for now, with this. We're not doing anything fancy, like making a transparency, or trying to make a light map or stencils. That will be in a different tutorial.
Now we need to take this texture and UV Map it to the cube. This actually puts the texture on the object for us, and it allows us to manipulate the faces of the object so that it is "painted" correctly on the cube.
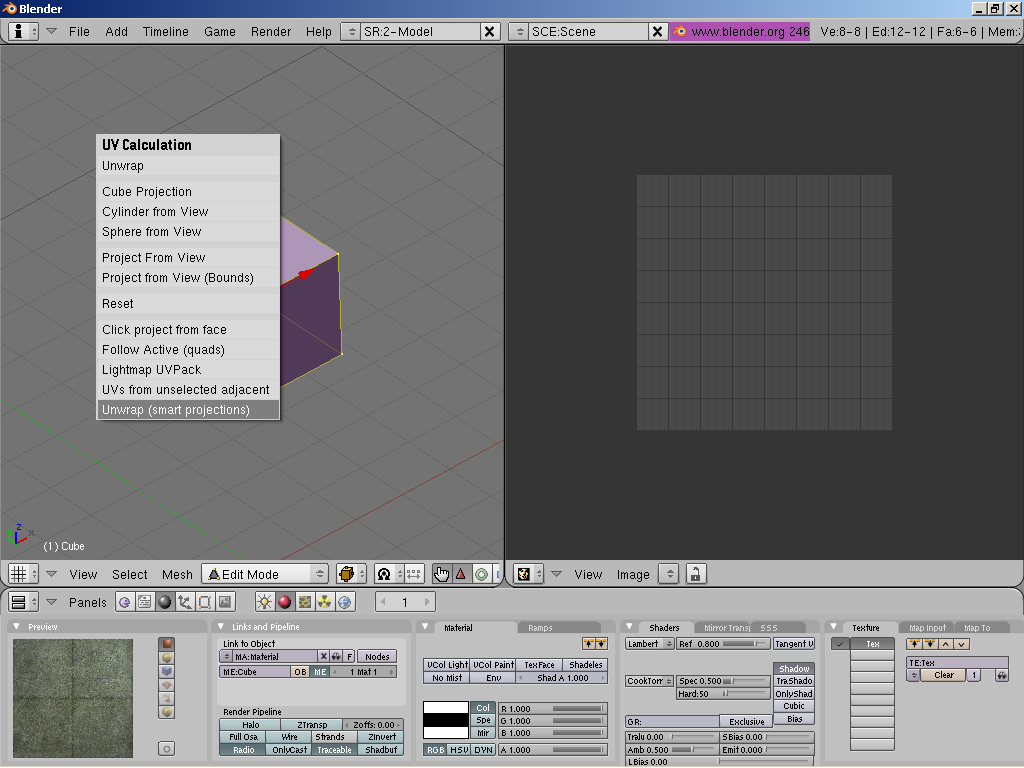
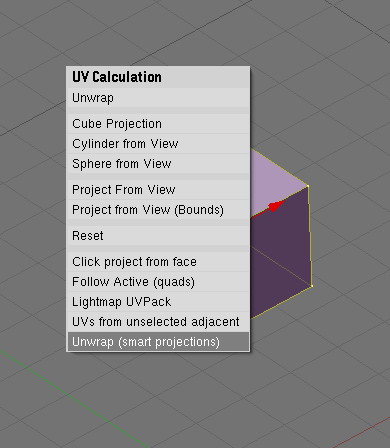
Split your 3D window up and make one of the Windows to UV Editing Mode. Then go to Edit Mode in the 3D window with the cube selected. Once you have done that, put your cursor in the 3D window and hit the "U" key so we can Unwrap our cube:
You want to select Smart Projections. Unwrapping can depend on the kind of object, how you want to map it, etc. So Smart Projections may not be the right way to do it with every object. However, for what we want to do here, it is.
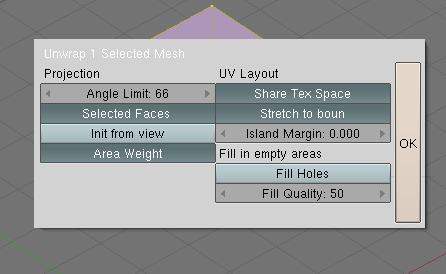
When you select Smart Projections, a new box will appear. Click on "Ok" for it:
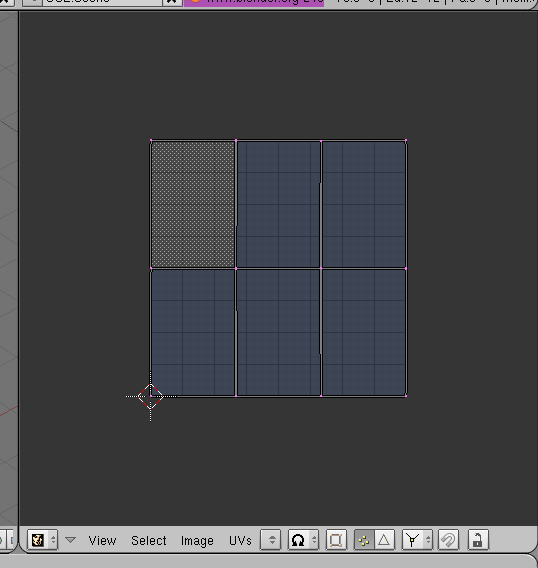
As you can see, what this did is take all 6 faces of the cube and laid them out for us in the UV Editor:
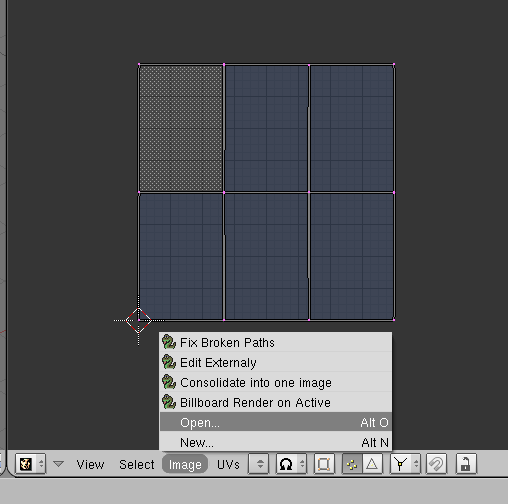
Now we want to put the image of our texture in the UV Editor:
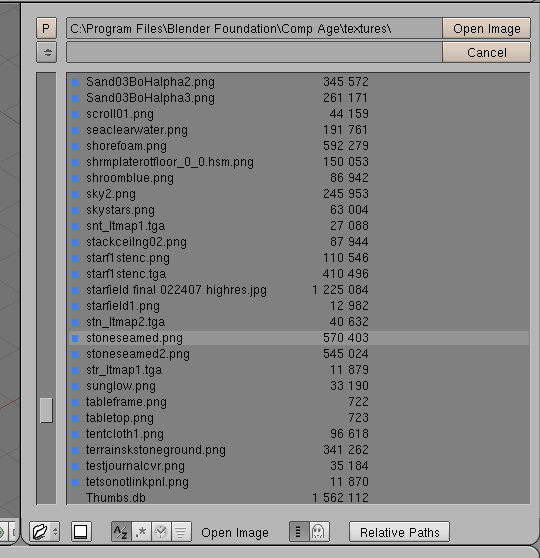
When you select Open, a directory tree will pop up. Go and select the texture image we used for our Textures in Materials:
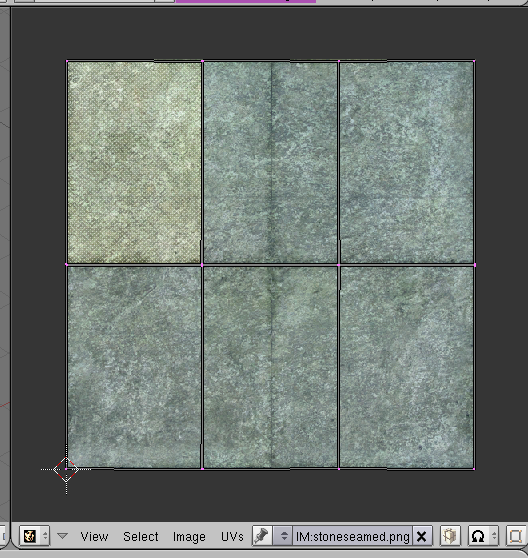
So now your UV Editor window should look something like this:
Now we can select each face, move them around, scale and distort them, whatever is needed to make each face of the cube looks right.
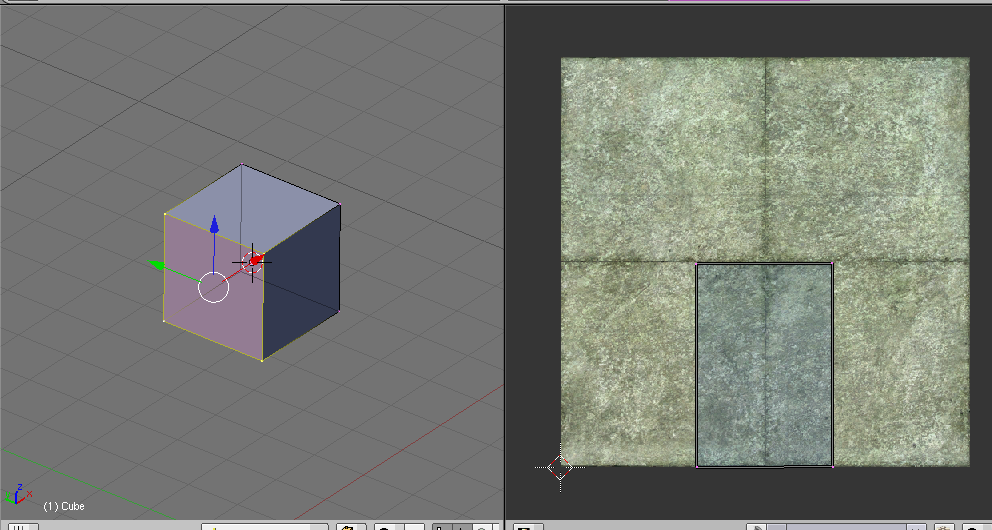
What you want to do, is pick and select a face of the Object in the 3D window. Have only it selected. This will present just that face in the UV Editor window:
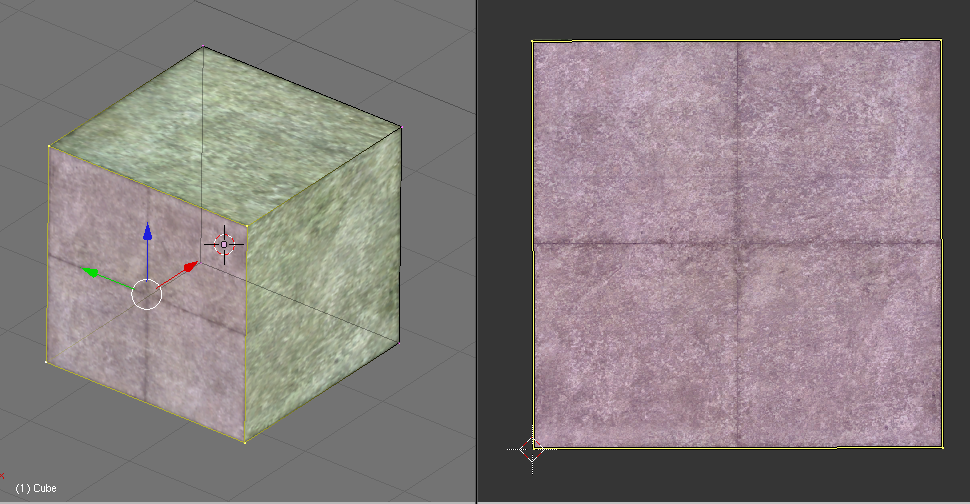
Now select all of the Vertex in the UV Editor Window by hitting the "A" key and move the face around. You can use the S, G keys too so that you can scale and move this face around. Do so until you get the face to cover the image just right:
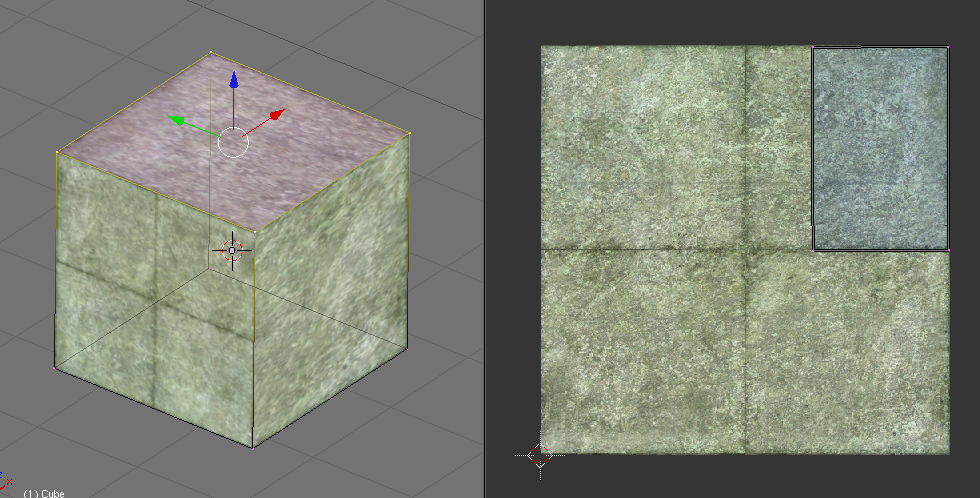
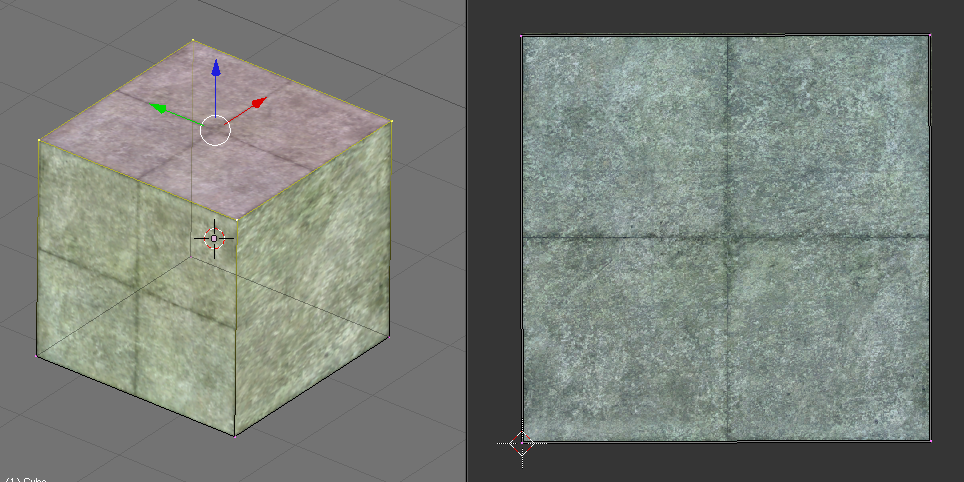
Now do the same thing for each face of the cube!
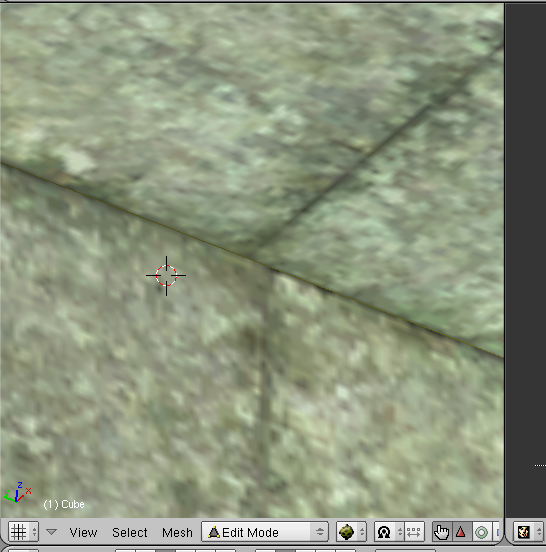
Once you are done, you'll have a cube that looks like it's made of 8 smaller cubes, with some green stone. But, before you stop and move on, zoom in with the 3D window. Check out those seams! If they are not lining up just right, you can move the faces about on the UV Editor, and get them lined up just right:
Okay guys, that's it. That's BASIC texturing.
Return To: Andy's Blender Tutorials

