Important! Please read the announcement at http://myst.dustbird.net/uru-account.htm
Also! Please read the retirement announcement at http://myst.dustbird.net/uru-retirement.htm
Transparent Textures
Okay, so you have a window you're making, or a water pond (small bodies of water like a puddle or a pond, fountain is where you'll need this, large bodies like Lakes, Oceans, Seas, etc, you'd use Wavesets and won't need this), or a chain link fence, or a wooden fence with open slats, or a branch with leaves, bushes......man the list goes on and on.
The point it, all of those examples, you're going to use textures that are partially see through. However, even though you've got a texture with transparent parts, they won't show up that way in your Age unless you apply that texture correctly in Blender.
Alpha.........
I have no idea why or where the name "Alpha" came from as meaning "Transparent or Clear". I mean you'd think they'd call it the "Tango" or "Charlie" channel. But it's not, it's called the "Alpha" channel. Remember that.
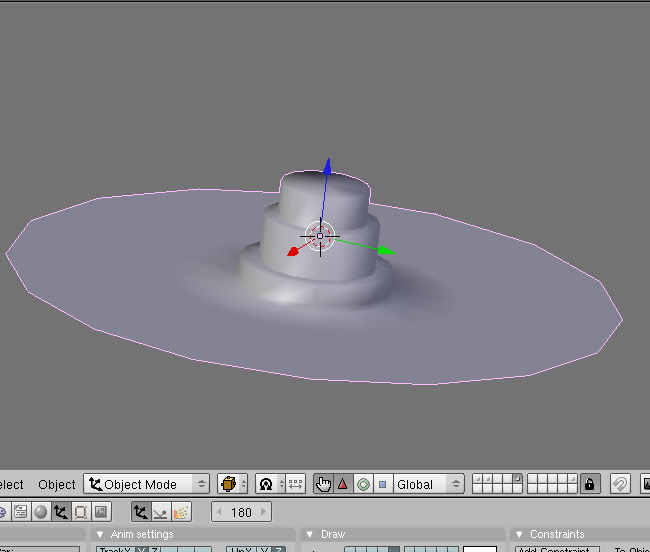
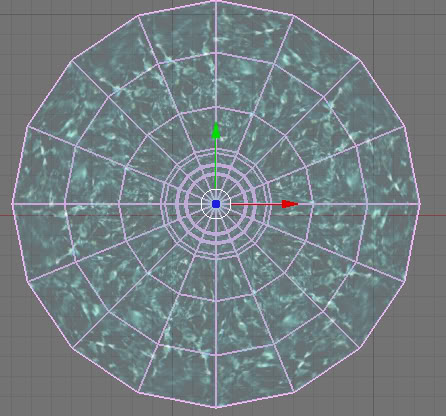
Okay, the mesh I'll use for this tutorial will be my water fountain mesh:
Okay, we need to apply a Material to it (don't forget to turn Shadbuf to off):
Then go to the Texture Panel and select your transparent texture:
(PLEASE NOTE: The water texture you see here in this tutorial is from Cyan. I'm using it here for instructional purposes only. It will not be in my Age. I'm still working on mine.....and it sucks right now......heheh)
In the above pic, make sure you turn on "UseAlpha"
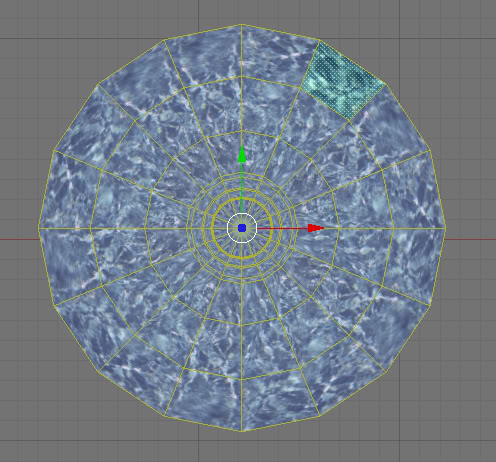
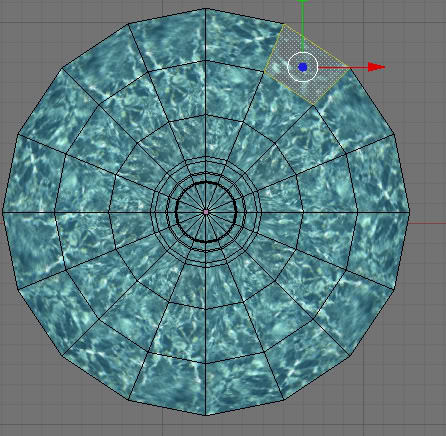
Now you need to unwrap the UV faces and apply the texture, which is covered under other tutorials I made here. Once that's done.....
You'll notice that the texture doesn't look transparent like it's suppose to:
That's because if you go to the Edit Panel, you'll see all the faces are set to "Opaque"
Let's change that.
Select ONE of the faces:
Now go down to the panel and click on the "Alpha" button:
It will turn that one face transparent.
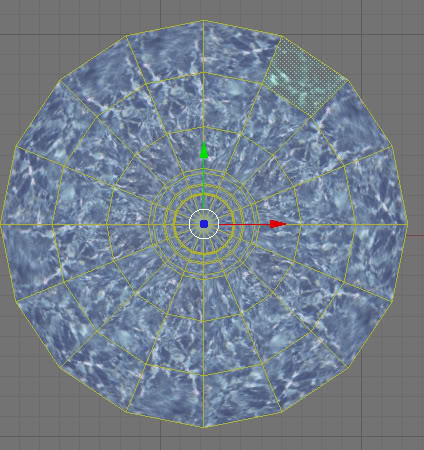
Now select all the faces by hitting the "A" key twice (once will deselect your one face, and then 2nd time will select all the faces):
Now go back down to the Edit Panel and click on THIS "copy" button:
BAM! There you go! All the faces look transparent now!
There is one more thing to do, and this is what messed me up with the new (Ver. 1.6.0) plugin, you need to go back to the Object Panel, and click on the "Transp" button:
Also, notice the arrow pointing to "Passindex:"
"Passindex" in simple terms will determine WHEN this mesh get's rendered. Normally you'd leave it alone and set to 0. But when you have meshes with trasnparent textures, you'll have to use this, especially if you have more than one mesh with transparent textures and your line of sight in game will intersect when looking at them.
In basic terms, the higher the Passindex number, the later the game will render that texture. So an object with a Passindex set to 0 will be rendered first. Set to 1 will be next, set to 2 next, etc, etc.
A good example of how to use this is Water Ripples or Shore Foam. Most of the time, those meshes will be sitting just above the water mesh (or waveset).
A good habit to get into is to set the water mesh (or waveset) to a Passindex of 2. Then when you've made your ripples or shore foam, set it's Passindex to 3. If you don't, your ripples and foam will act like X-Ray glasses.
Okay, that's it for now. Hope this was useful.
Return To: Andy's Blender Tutorials
