Important! Please read the announcement at http://myst.dustbird.net/uru-account.htm
Also! Please read the retirement announcement at http://myst.dustbird.net/uru-retirement.htm
Taking Uru To Unreal
A couple of months ago, I was talking to Bill and we were discussing different game engines that Uru might be ported to. Obviously we were looking at Open Source game engines since they are free. Many of us out there had heard of Ogre, and I had started to dive into that and see what I could see.
First up on the list was a game engine that was Ogre based that was called Open Space 3D. The showcase for it looked impressive, but I was not very happy with importing options and most of the documentation and tutorials are in French, heh, and I do not "par-lay-voo France-say" (said in my best southern drawl).
Next, I took a look at Neo Axis. This seemed to hold a lot of promise. I took Serene into it. However, it did not seem up to snuff so to speak. I had to take out all my pine trees, because I couldn't get the frame rate past 12 with them in. Plasma had no issues with them, but nothing that I did in Neo Axis could get the frame rate up towards 30 except for their removal.
I had been thinking about the Unreal game engine, and the SDK for it is free. Unreal is one of the most modern game engines out there, and their SDK is simply outstanding. So I thought I would give it a try.
The documentation and tutorials out there are too numerous to count. Epic Games themselves have put out tutorials for Unreal's SDK, and some of the best video tutorials for it come from 3DBuzz.
One of the other reasons I was attracted to it was I had used the Unreal Editor 1.0 years ago, making maps for Rainbow Six: Ravenshield. The game comes with the editor, but, being an editor, it's specifically for making map levels of that specific game.
The Unreal SDK on the other hand can be used to tailor make things.
My first attempt was with something small, the Nexus. I used it to learn and remember how to do things, and I was pleased with how the results were coming out.
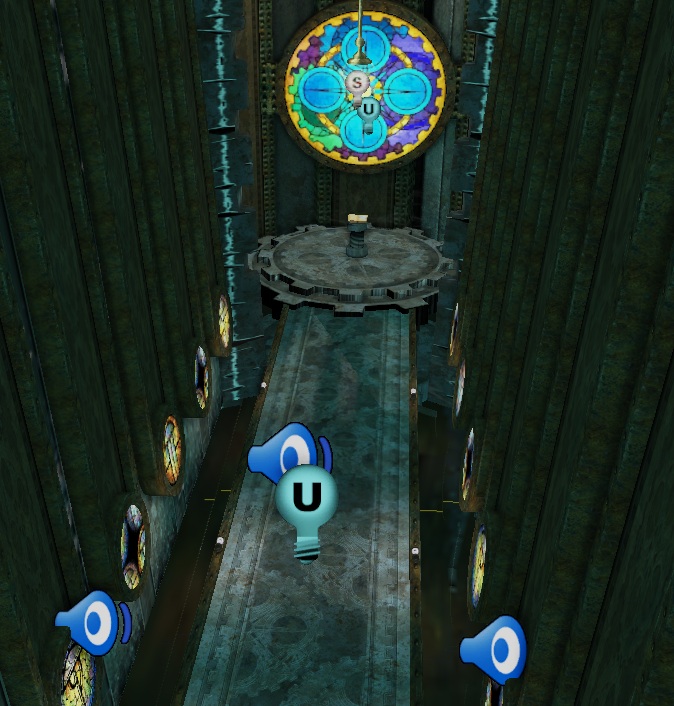
But to get serious about it, I needed to port over something larger. My first thought was the Cleft......but then that would take a very long time, and is huge. So I then thought of the Ahnonay Linking Room. It's not huge, but is bigger than the Nexus. It has a LOT of ambiance in it from lighting to sounds. I thought it would be a good place to start.
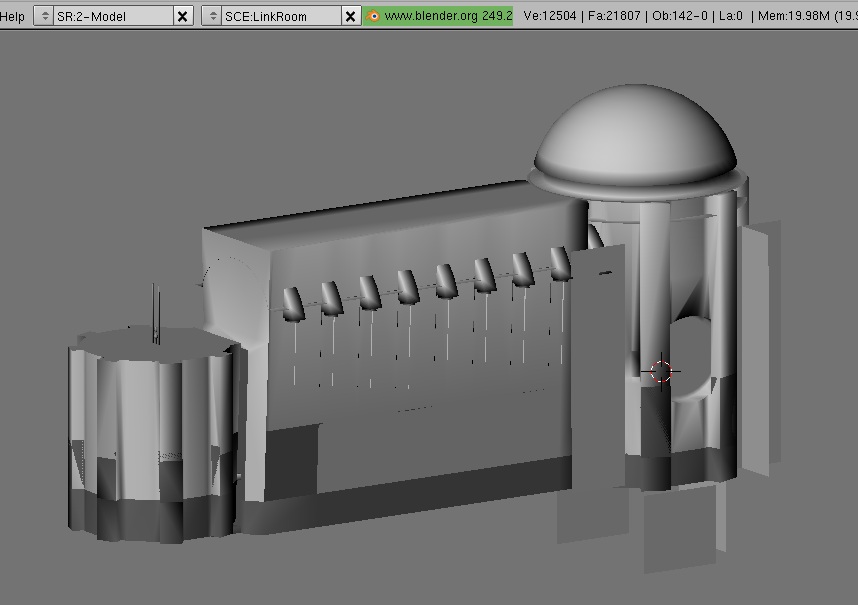
Step one was to import it from Uru into a 3D modeling program. You can not directly import Uru into the Unreal SDK of course. You can import models from Blender, Max and Maya however. Blender 2.45 used with the Guild Of Writers PyPRP plugin can import Ages from Uru into Blender:
Now the only downside to this is: for some reason, the importer makes double verticies of almost all the meshes! This will seriously screw things up. So after importing an Age, you have to go into each and every mesh and remove the double verticies (again, not sure why the importer does this). The next thing you need to do is scale UP everything. In Blender and Max, 1 unit = 1 foot. In Unreal 1 foot = 16 Units. So you have to scale everything up by that factor.
Once that is done, I had 2 choices: Export using .ase file extension, or export using FBX.
Doing a ASE export is the recommended way to export your models from Blender and Max so that you can import them into the Unreal SDK.
BUT! And this is a serious drawback! If you do it that way, you will have to place each model in the Unreal SDK 3D scene and then move them into place manually! As you can imagine, doing so for a Uru Age would suck big time, especially if we are talking about a large Age.
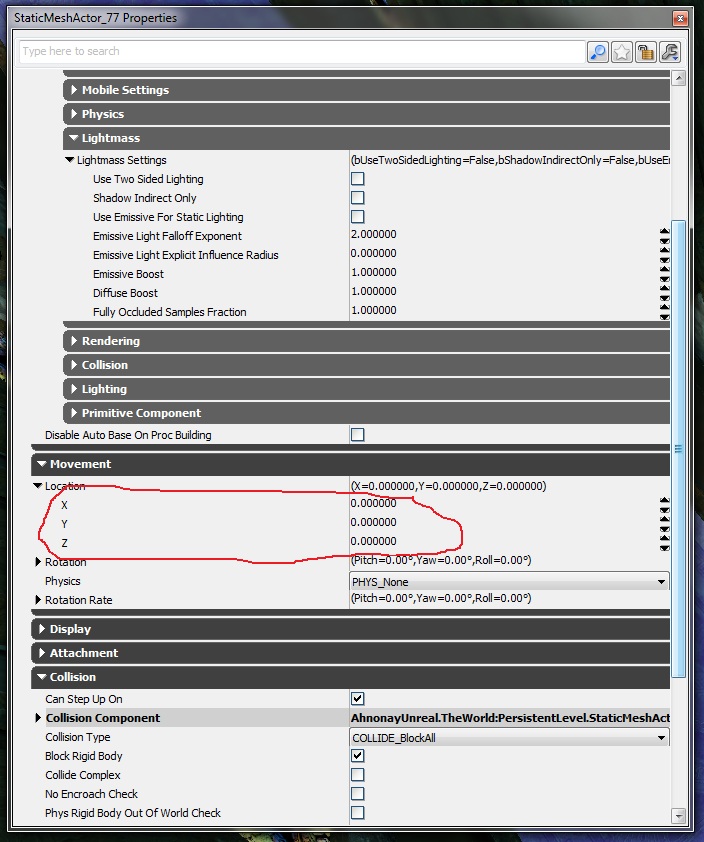
Doing a FBX export, the meshes retain their pivot point location information. When you drop them into the 3D window, you can then open up their properties and change their X, Y and Z coordinates to 0.0. This snaps them into place so to speeak.
Now, the textures. You can use .png files in the Unreal SDK, but they recommend .tga files. So if you have a batch converter, you'll need to convert all the textures to .tga format. On top of that, you'll need to make a "Normal Map" of each texture that is for solid surfaces. You do not HAVE to do that, but then you will not be able to take advantage of Unreal's material features and make your textures come alive.
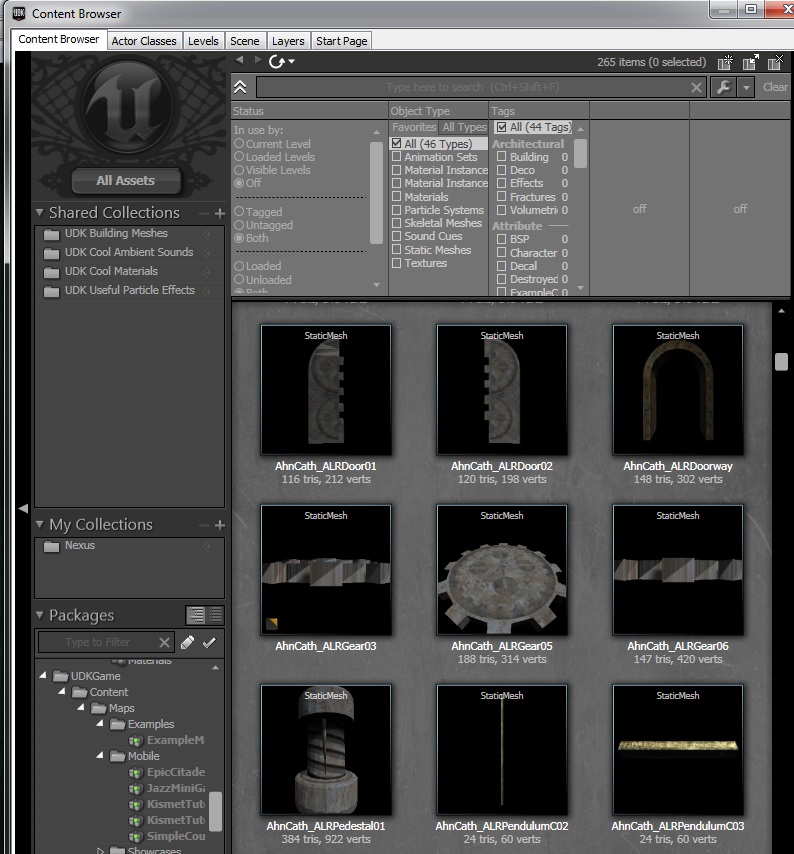
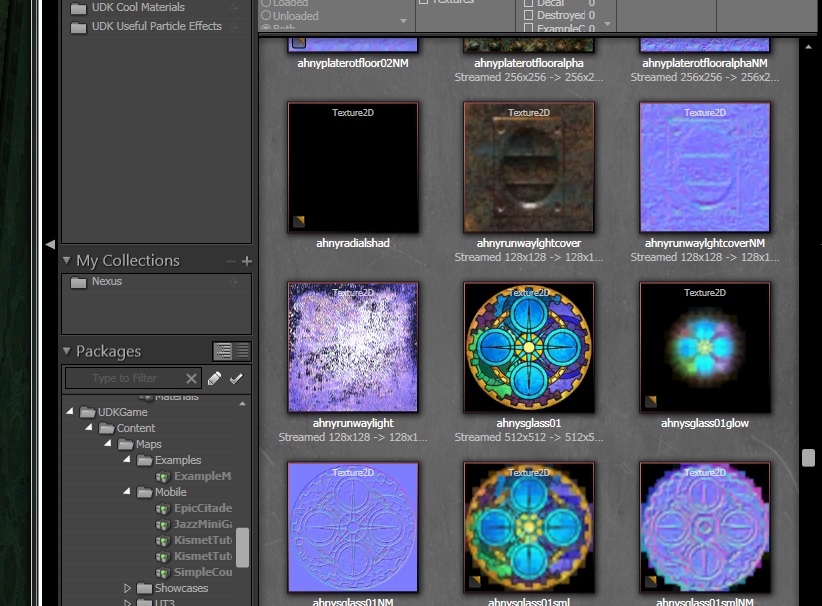
You'll have to then import all the textures into the SDK's content browser:
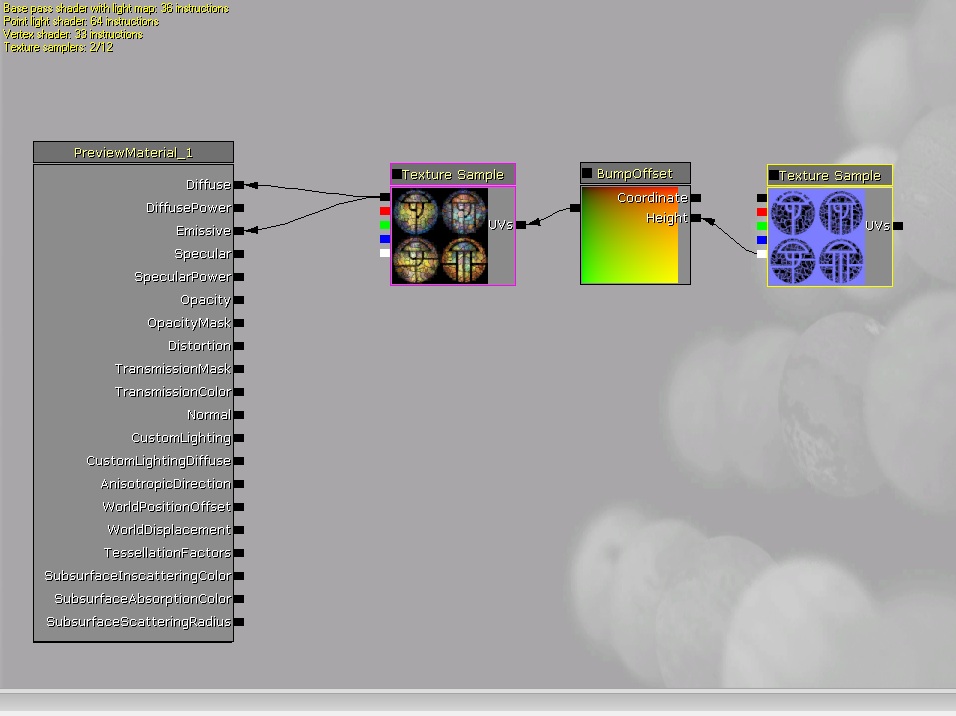
Since all the meshes have retained their UV Mapping coordinates, it's simply a mater of creating the materials and then applying them to the meshes. The Material editor in the SDK is like working with a flow chart:
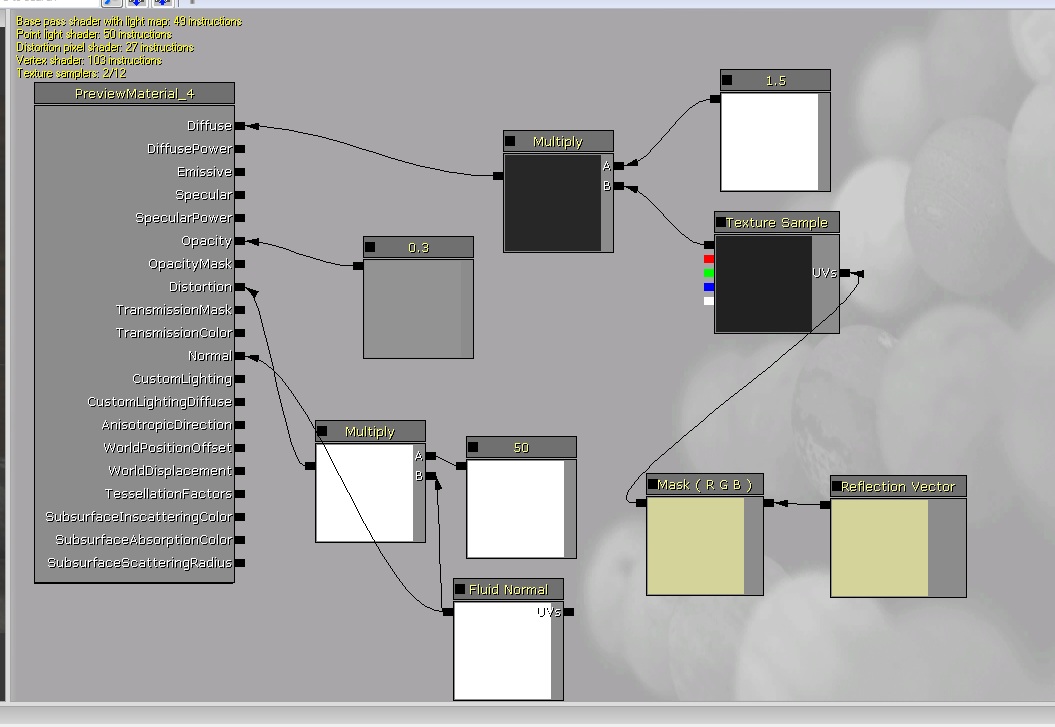
That is just an example of a simple material. Here is one that is more complex for the water surface:
I really love how it works! You can see how your material is going to look in real time while in the editor, including animated textures! You can even hold down the "L" key and move your mouse around, and it will shine a light on it to show you how things like bump maps and specularity look.
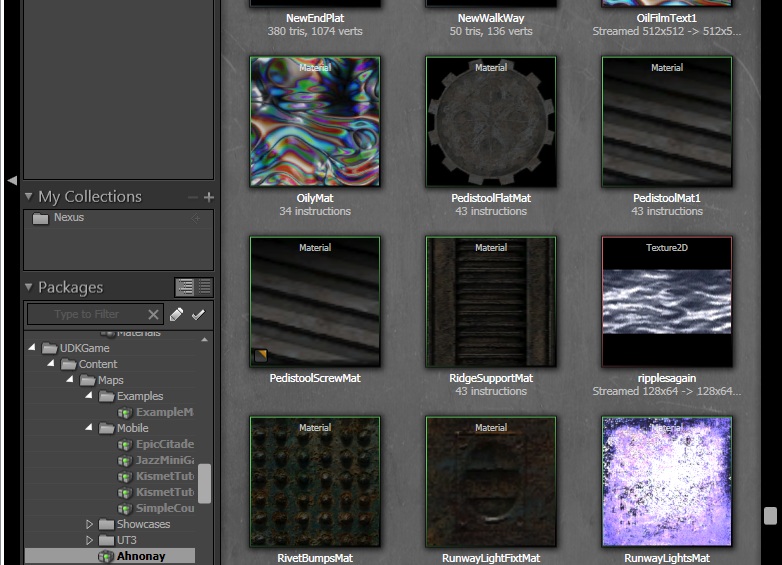
Your materials will be in the content browser too:
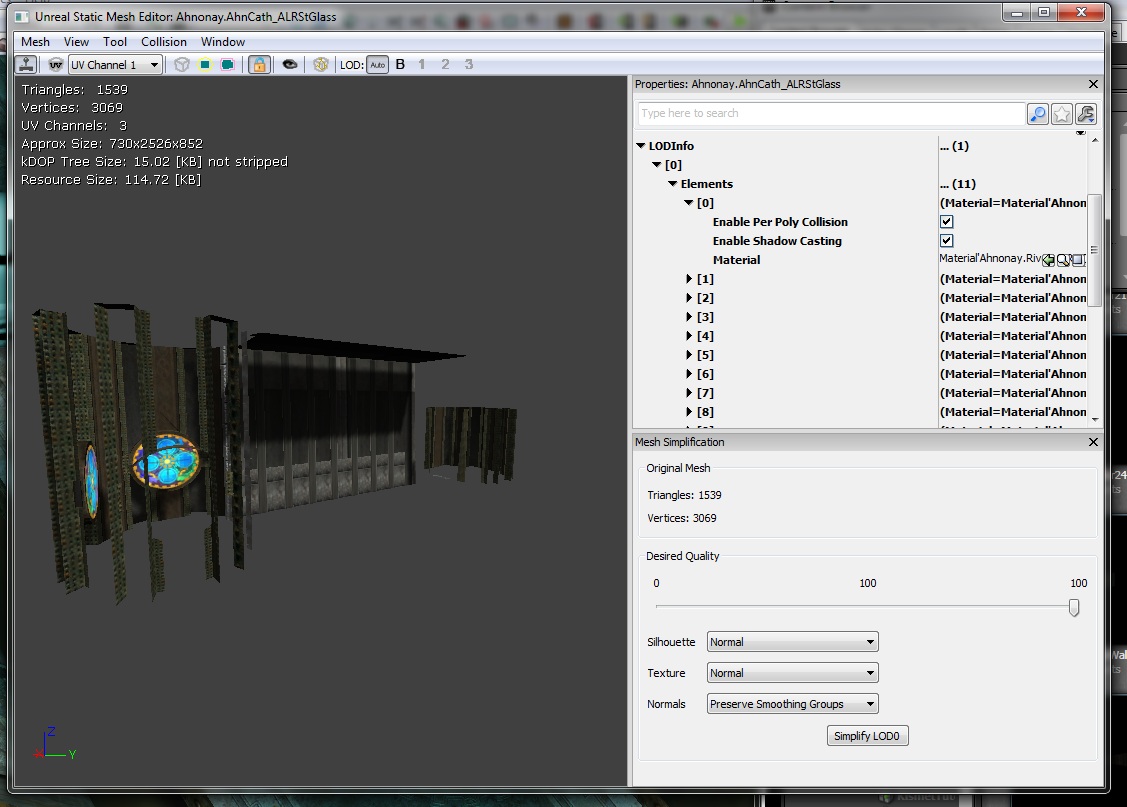
Once you get your materials made, then you can open up each mesh and apply those materials to the faces of it:
Lighting in the Unreal SDK is wonderful. It uses what we call Lightmass. This automatically provides bounce and scatter of your lighting, so you do not have to go in and add all those extra lights anymore!
The other thing I love about it is the 3D window can be set to Real Time, and each time you do a "Build", the 3D window is a WYSIWYG (What You See Is What You Get), and I do mean it REALLY is WYSIWYG, not a close approximation!
It only took me 4 days to get it to this level that you will see in the video below. I can't wait to try and do some large places, like Teledahn and the Cleft!
Here is the video:
