Important! Please read the announcement at http://myst.dustbird.net/uru-account.htm
Also! Please read the retirement announcement at http://myst.dustbird.net/uru-retirement.htm
How To Use Wind and Cloth Reactors
This tutorial was created by Embreon from the GoW. You can see his original tutorial Here. This tutorial does not cover how to create Bones, but how to use them with reactors to create realistic wind moving cloth.
How to create a cloth that moves realistic on wind.
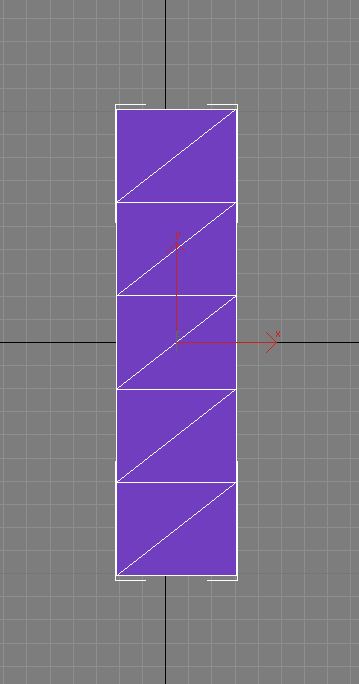
For this tutorial we are going to use certain aspects from 3Dsmax , such as Reactor, the cloth modifier, bones and skinning methods. It’s best to practice with an easy cloth fist before you start working on complex models. Starts by making a box at the size you want your object to be, and increase the amount of segments. The more segments you will give your object the more detailed it will be, but keep in mind that it’s going to be a lot more work ! For this tutorial I made min 5 high.
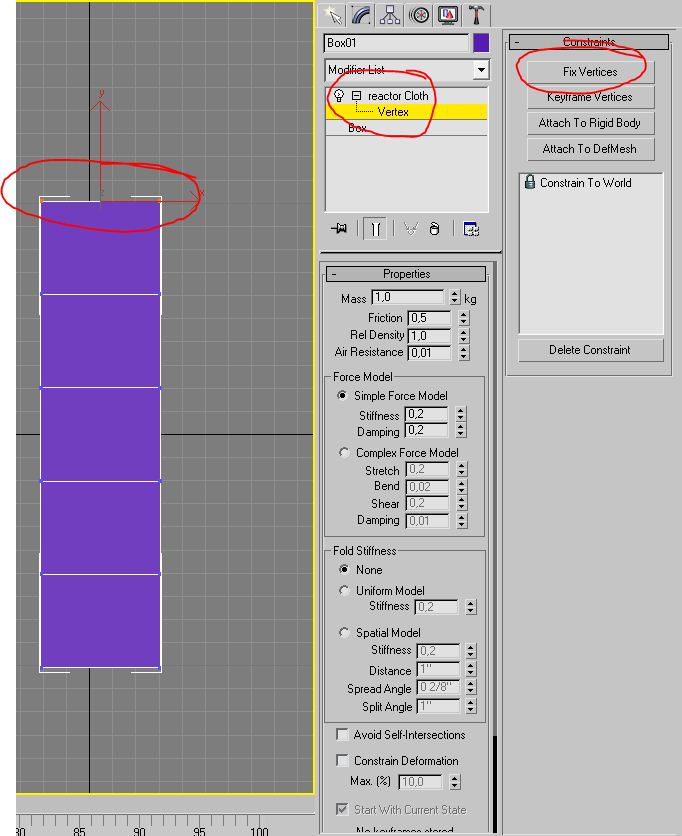
When your box is the way you want it to be apply a cloth modifier to it, which can be found in the modify tab as “ reactor cloth “ . Hit the + next to the cloth modifier and it will open up its tree, and display vertex. Click on vertex and select the two top vertices ( this is where the cloth is going to stay fixed to the scene) and hit Fix Vertices.
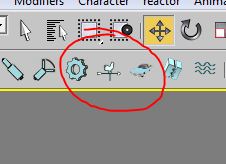
To be able to let Havok ( the physics engine of 3dsmax ) calculate how the cloth is going to react to gravity we need to apply a “cloth collection” and that is found on the reactor toolbar
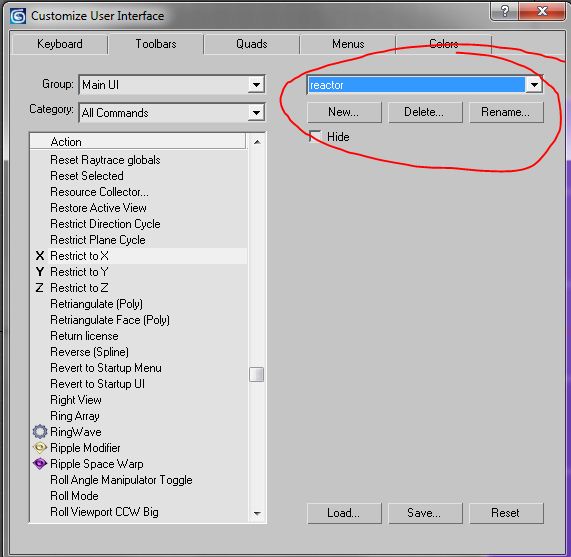
If you don’t have this toolbar go to: Customize -> Customize User Interface and unhide the reactor toolbar
Hit the gear icon on the Reactor toolbar that say’s “ create animation” Havok will then calculate how the cloth is going to move. When it’s done you can see the result when you move the time slider on the bottom. The animation time is set standard to 100 frames, if you want to increase this time, go to the Utility tab and then to Reactor to increase this time.
For the wind effect you need to add a Reactor Wind that can also be found on the Reactor toolbar
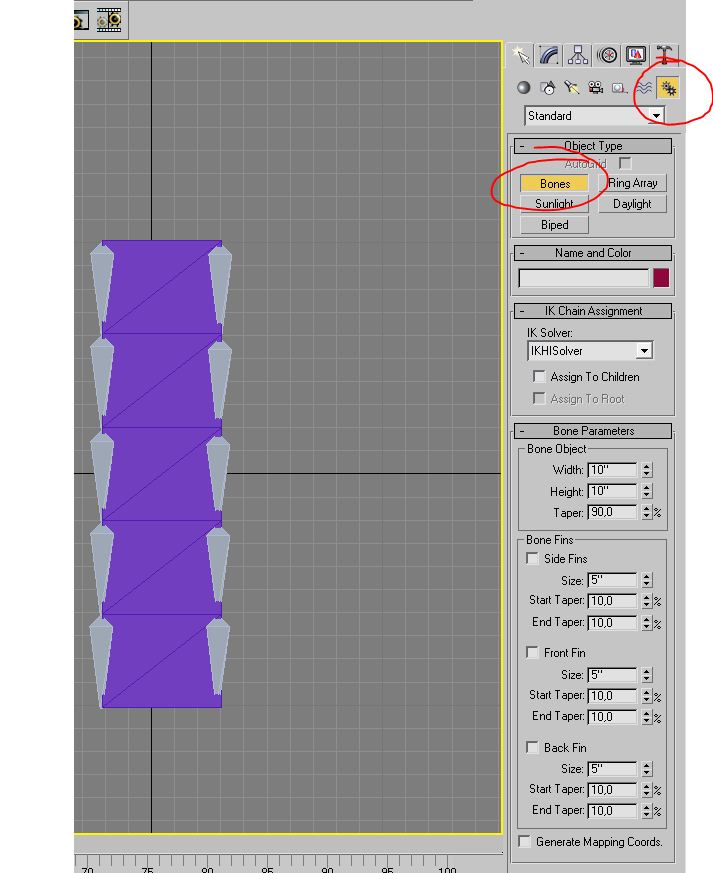
Put is in your scene with the arrow pointing towards your object. The speed setting of the wind in the modifier tab depends on the size of your cloth so I can’t really tell you how strong you will have to set this value. Just play around with them until you have what you want! Now that your cloth is moving as you want it to be it’s time to add some bones. You can find then under the system create tab -> normal -> bones. And add the bones on the vertical lines off your object !
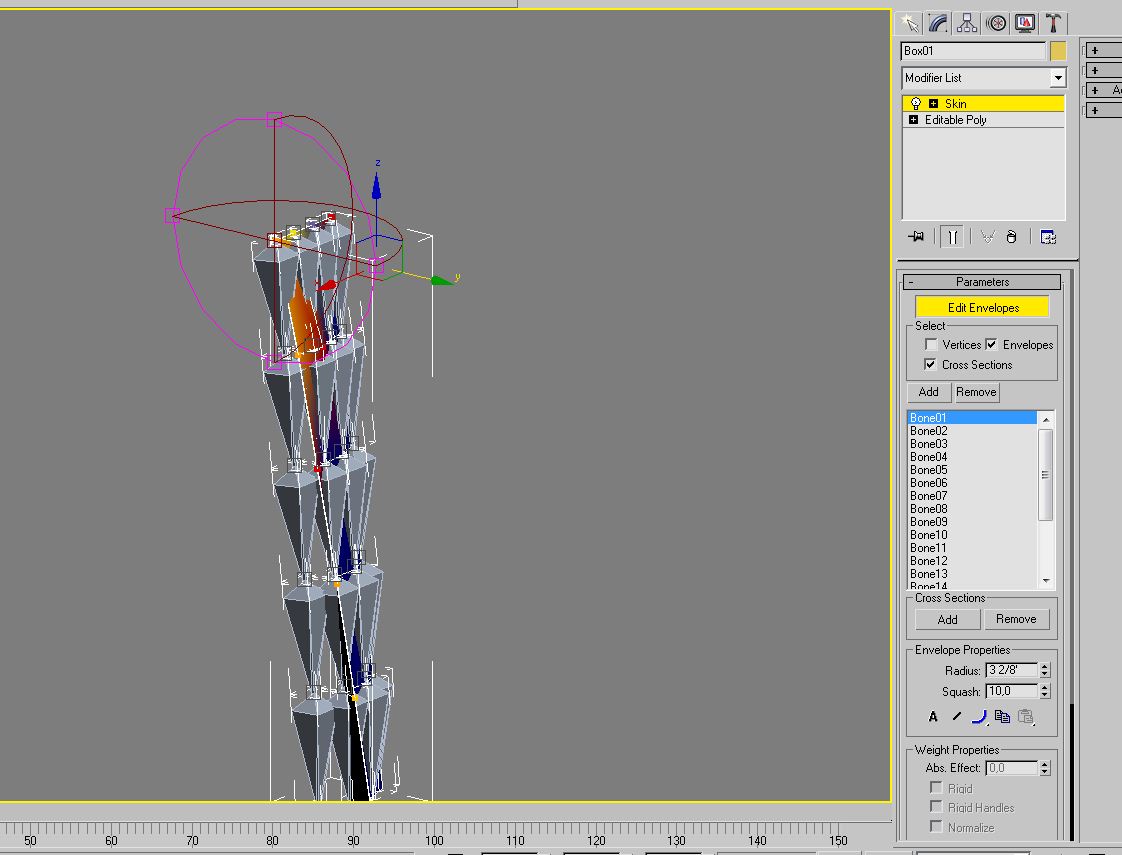
The first bone you create is the parent, all the other will follow the bone above itself. When the bones are in place it’s time to animate the bones according to the moving cloth. Since Plasma does not know what to do with animated vertices we need to skin the object. Animating the bones works the same way as animating any other object. Just hit the auto key on the timeline and animate every bone to match the cloth. You can do this on ( for example ) every 5 or 10 frames. When all your bones are animated, delete the cloth because skinning does not seem to work with Editable poly( In the picture I am, but that just to show you about the skin modifier ) objects. So create a new box at the same size as you cloth used to be !
Now its time to add the Skin modifier, that can be found on the modify tab under “skin”
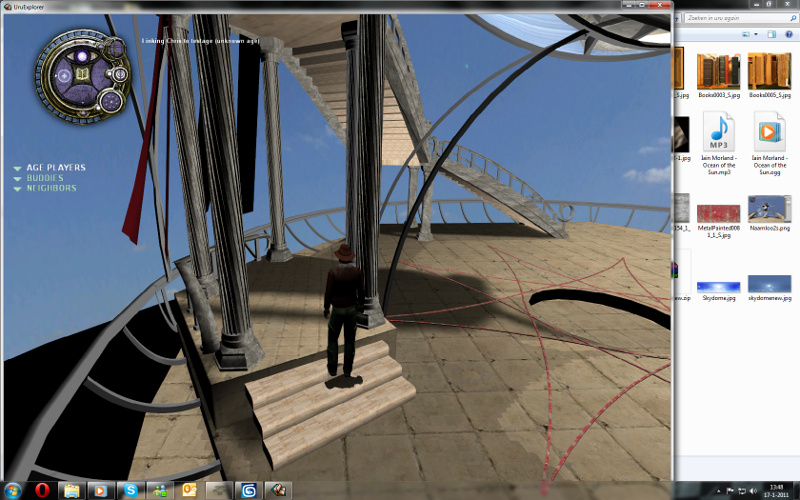
Add all the bones to your object, to let the object know which bones to follow and not. For each bone you need to set its envelope. This is the region the bone will affect the object. The regions will overlay each other, that is normal. Set all the bones to have a certain amount of effect on the box. When this is done, apply an “Animation” component to all the bones and set it to play the entire animation and to loop it. Also add a “No show” component. Export your age and look at what you made ;)
That’s about it.. The trick is of course to make your cloth move in such a way that It’s loop-able and detailed enough.
Good luck
Return To: Andy's Max Tutorials
