Important! Please read the announcement at http://myst.dustbird.net/uru-account.htm
Also! Please read the retirement announcement at http://myst.dustbird.net/uru-retirement.htm
Avatar Sitting
This is one of the most simple things to do in Max with the Plugin, however, you can make it quite complex too if you want.
A basic sitting mod consists of:
An Object that the avatar will click and sit on. A region to detect to that the avatar is near the obejct (you don't want your avatar zipping halfway across the Age to) A seek point for the avatar animation of he or she sitting.
That's all you need to have the avatar click on something and sit down.
Now, you might want yours to be a bit more complex, say you've made a chair that's more than a box or a bench. In that case, you'll want to make a "Click Proxy" which is nothing more than an invisible collider that the avatar will click and sit on. You might want to put in extra cameras that we switch to when we go to sit and/or after we've sat.
All those can be added to what I'm about to show you.
Make Something To Sit On
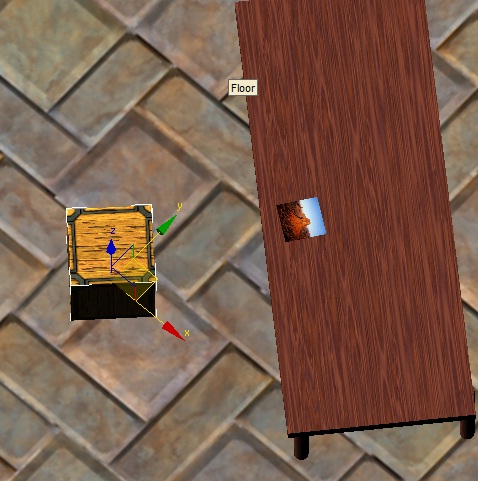
In my picture below, I've made a simple box for my avatar to sit on. Again, you'll more than likely want to make something more appealing to the eye. Whether you've made a simple object like me or you're using a proxy collider, keep in mind that the top of it needs to be 2.0 feet from the ground. That's the height the avatar's rear end will be at when it sits.
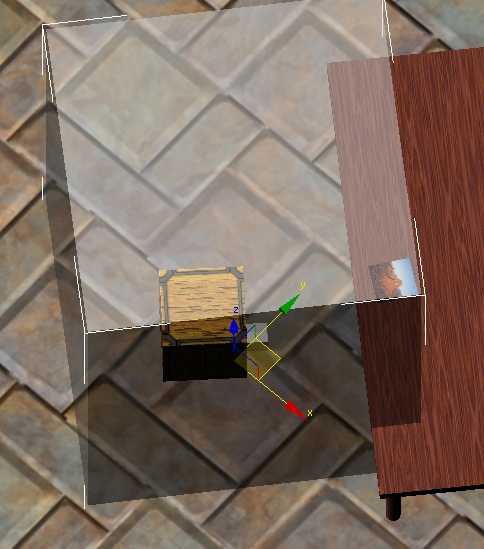
Next, I selected my Map Click Region I had made for my GUI pop up, and scaled it up a bit. The box is going to be in the way. We'll use this region for our clickable region for sitting (you can use the same region for multiple things).
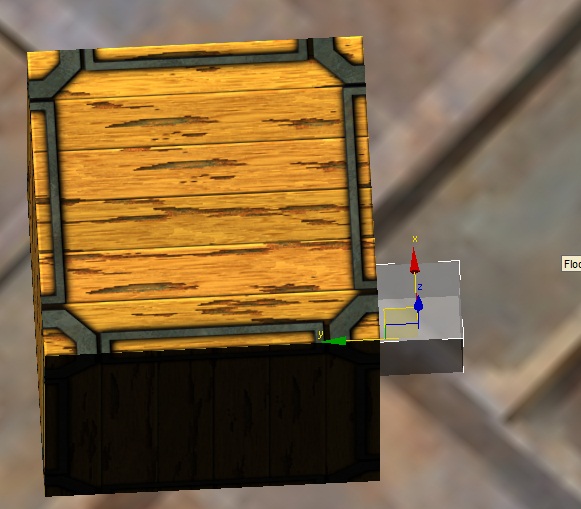
Last, and this is different from how we did things with Blender and the GoW Plugin, we need to make a Seek Point for the avatar. This will be where the avatar wants to get to and perform it's "Sitting Behavior"
You can do this two ways: Use a Helper Dummy, or create a small box. If you use a small box, do not forget to assign and Ignore component to it, or it will be rendered in game.
In the pic above, I've made a very small cube (0.5 x 0.5 x 0.5) and placed it in front of the box that the avie is going to sit on. The "Center" or "Pivot Point" of the cube is already flush with the bottom face. However, you need to change your view to "Local" and then rotate the Cube so that it's "Y" axis faces TOWARDS the object you want your avatar to sit on. You will also want the distance from the center of the pivot point to be at least 0.275 units away from the front of the object your avatar is going to sit on.
Assigning The Plasma Components
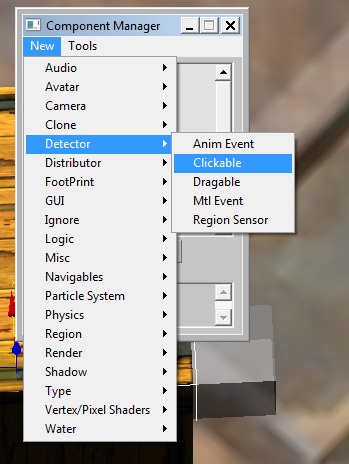
Okay now lets start giving our objects their components. Select the object that your avatar is going to sit on. Call up the Component Manager, and click on New > Detector > Clickable
Don't forget: each component you create, you then have to click on the Attach button to assign it to your object.
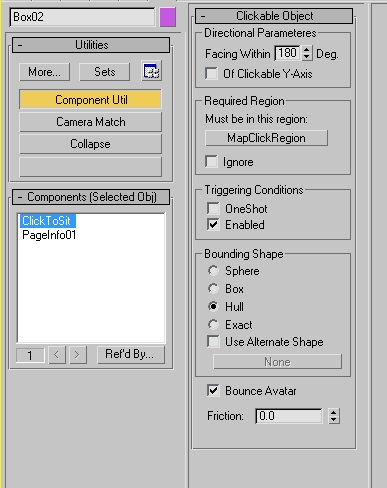
Now go over to the Component Utils, and select the Clickable you just attached.
Go up to the Required Region box and click on the button that says "none" right now. Now click on our Region that surrounds where we're going to sit. Then go down to the "Bounding Shape" box and assign the physics to our seat here.
NOTE: You do not assign a Physics Component to a Clickable. That is done within the Clickable Component itself. If you do assign a Physics Component to your clickable, you will get either an error on export, or you'll see an error in Drizzle when you go to convert.
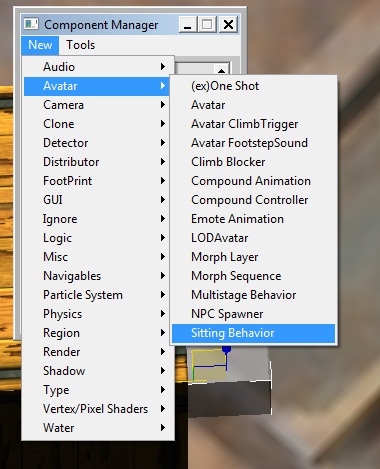
Now select the Seek Point we made. Call up the Component Manager and click on New > Avatar > Sitting Behavior
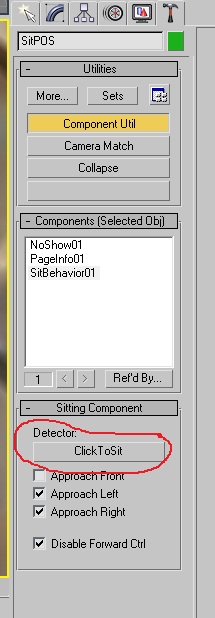
After attaching it to the Seek Point, go over to the Component Utils.
Under "Detectors" click on the button there, and then select the Clickable you assigned to our seat.
The other part of this box is pretty self-explanitory. Check marks in the box means that the avatar can do those things. No check means the avatar will not do those things.
That is IT! Now you can export, convert and give it a try!
Here's a video of me doing it:
Return To: Andy's Max Tutorials
