Important! Please read the announcement at http://myst.dustbird.net/uru-account.htm
Also! Please read the retirement announcement at http://myst.dustbird.net/uru-retirement.htm
Difference between revisions of "Reward or Takeable Clothing"
AndyLegate (talk | contribs) |
AndyLegate (talk | contribs) |
||
| Line 58: | Line 58: | ||
==Getting Started== | ==Getting Started== | ||
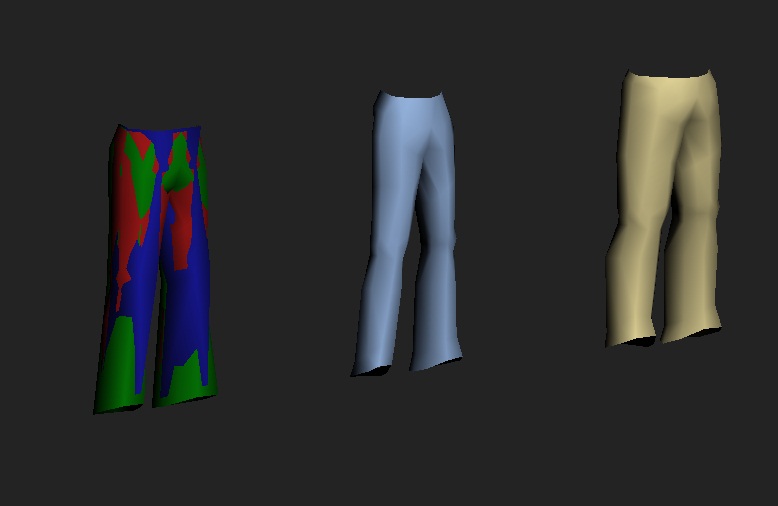
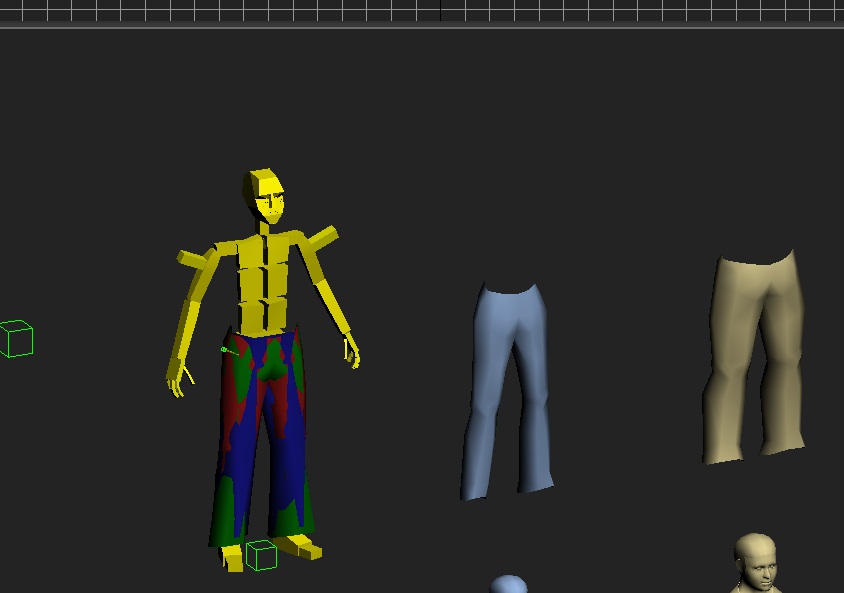
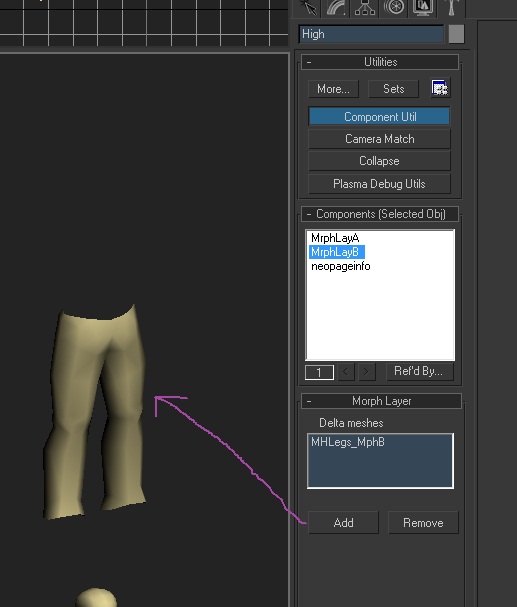
| + | Okay, before we dive right in, I want you to take a look at the pants mesh that is in the file I provided in the above link, even if you are going to try and use your own clothing mesh, there is something important that you will need to understand. When you open up the pants.max file, you will see this in the 3D Scene: | ||
[[File:AvieCloth3.jpg]] | [[File:AvieCloth3.jpg]] | ||
| + | |||
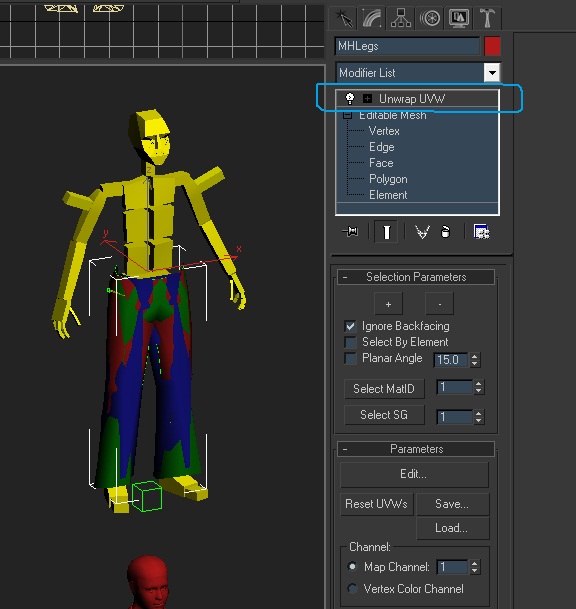
| + | As you can see there are what looks like 3 sets of pants. In reality there are 5, as 3 of them are all sitting in the same place. | ||
| + | The coloring of the meshes is very important, as it helps you keep track of what mesh is what: | ||
| + | |||
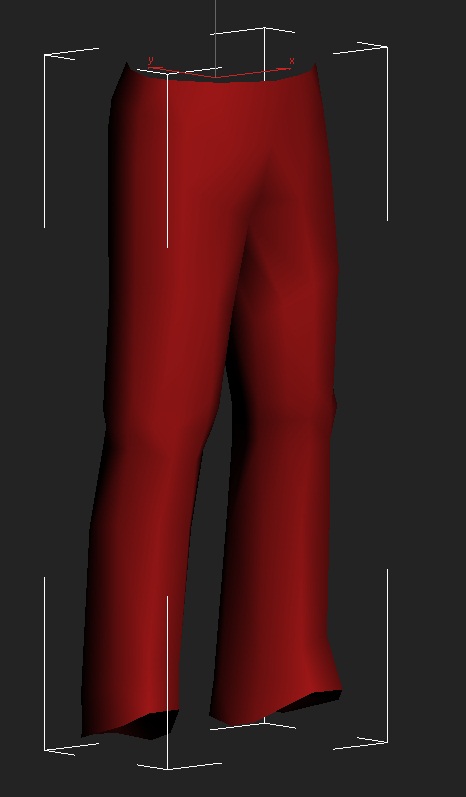
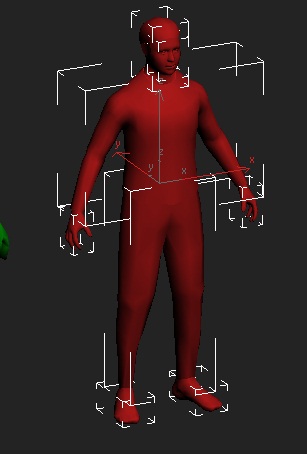
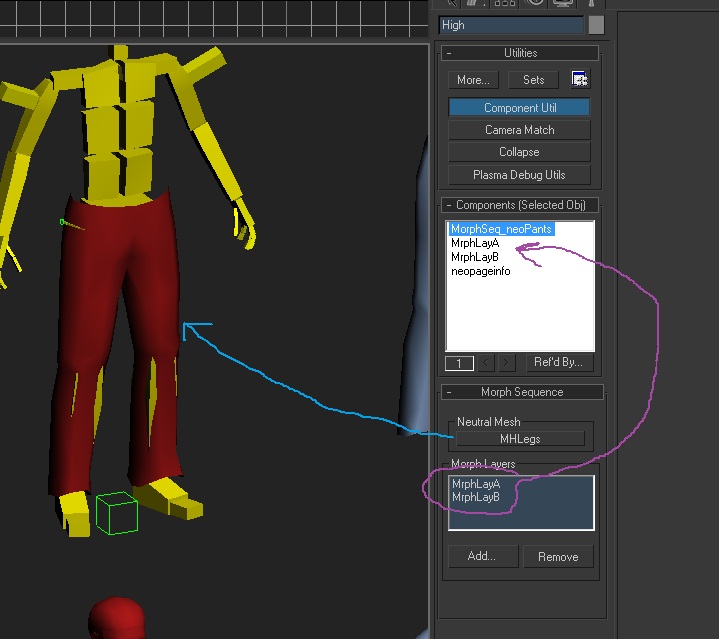
| + | The Red mesh, is considered High Ploy or High Faces. This will be your highest resolution of your clothing Mesh. | ||
[[File:AvieCloth4.jpg]] | [[File:AvieCloth4.jpg]] | ||
| + | |||
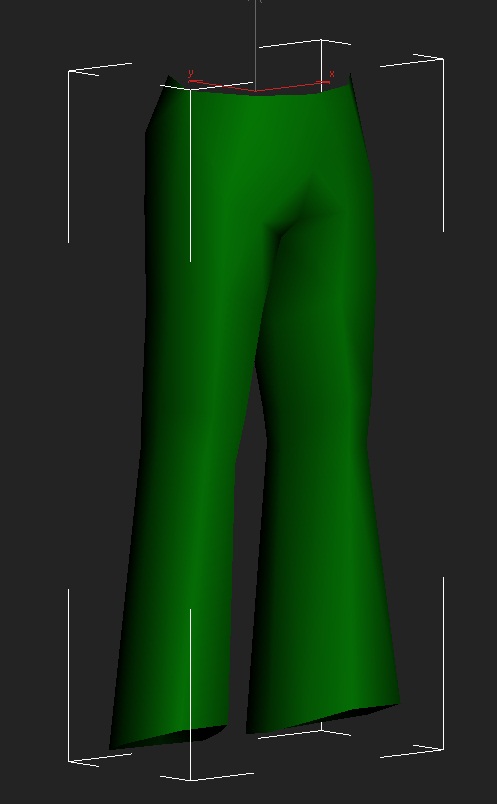
| + | The Green Mesh is considered the Medium Poly or Medium Faces mesh. | ||
[[File:AvieCloth5.jpg]] | [[File:AvieCloth5.jpg]] | ||
| + | |||
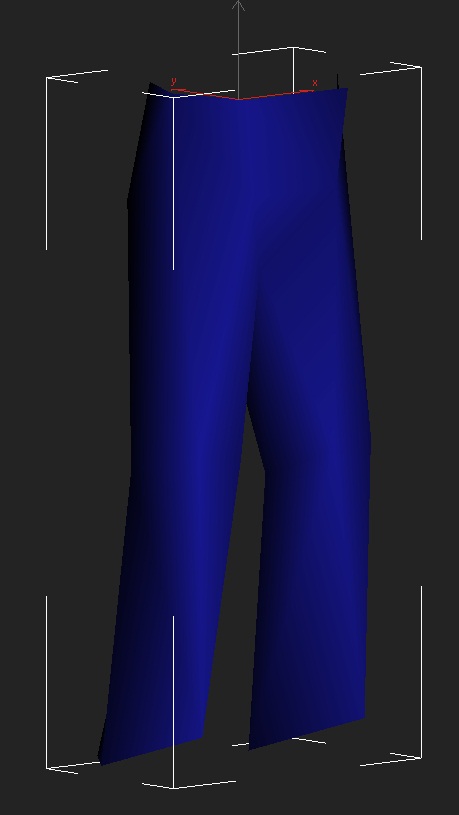
| + | The Dark Blue Mesh is considered the Low Poly or Low Faces mesh, and will the the lowest resolution of your clothing Mesh. | ||
[[File:AvieCloth6.jpg]] | [[File:AvieCloth6.jpg]] | ||
| + | |||
| + | |||
[[File:AvieCloth7.jpg]] | [[File:AvieCloth7.jpg]] | ||
Revision as of 18:56, 18 July 2011
NOTE: THIS PAGE IS UNDER CONSTRUCTION AND NOT READY YET. I WILL ANNOUNCE WHEN IT IS DONE AND HAS ALL THE FILES AND INFORMATION IN IT.
Credit where credit is due! This tutorial would not have been possible without the help of GPNMilano, who did a LOT of indepth work on this and provided me with much information when I started learning how to do this. Credit also goes to Austin and Mark DeForest (aka Chogon) from Cyan for the information and help given by them.
Before you get started with this tutorial, PLEASE read the following!
This tutorial is not for a beginner in Age creation. If you have just started and are still learning how to even just model and texture your Age, you may want to get more practice in before you attempt this. The process is complex. You will not be able to use this with any of the stand alone Uru games (POTS, Uru:CC), nor will this work correctly with ALCUGS or UU type servers. You must have access to a MOUL based server in order to test what you are making due to changes in the Avatar's bone structure that were made. This is mostly due to the files I'm providing as the Avatar bone structure is based upon the MOUL avatar. If someone were to change the structure to what is used in the stand alone and ALCUGS, then you would be able to use the information here. But if you try to use it, you will find that the avatar will not look right when you put the clothing on. Instead you'll look like some deformed, mutant Bahro!
This tutorial is not meant to show you how to make clothing meshes that will fit the avatar, but instead assumes that you already have those. In the files I provide, will be a set of meshes for some pants so that you can follow along and give it a try. The documentation provided comes from Cyan, and has a wealth of information in it, including how to make the clothing meshes. Textures for clothing are special too, and must be a certain size and layout depending on what type of clothing / accessory you are making.
There are a couple of things that I have discovered while doing this: I have not been successful in making certain types of clothing, such as Jump Suits. The way the bone structure is made, it does not like once piece clothing. Combining the legs with the torso or the torso with the head (like a diving bell suit) causes problems with the avatar when it animates in game. This does not mean that it is impossible (I have learned not to use that word when it comes to Plasma and the Uru Community), however someone will have to figure out a way to makes those.
Finally, this method that I am going to show you involves adding prp files to the GlobalClothing Age. Trying to place the clothing in your Age will not work, as the Plasma Clothing material type will not export into the Age. I realize that this could cause problems, especially on a server where more than one Fan Age will have clothing. However, until someone figures out a way to work around this, it is the only way I know for it to work.
Enough talking from me. Let's get to work. There is a LOT of information to get through.
Files You Will Need
You will need to download at least the next 2 files:
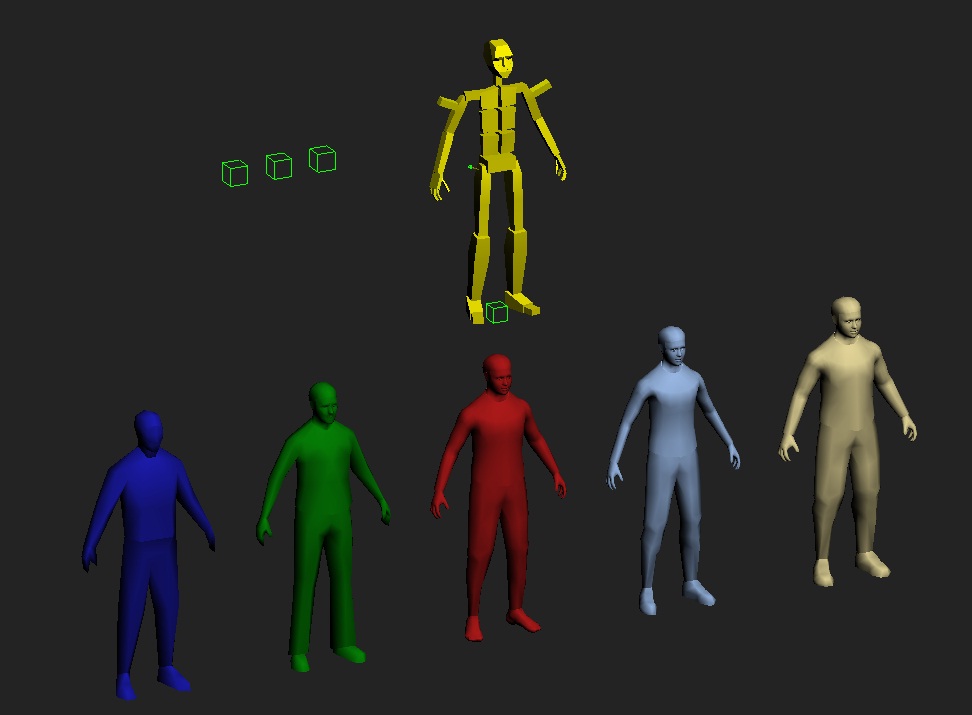
This is the animated bone structure of the Male Avatar for MOUL.
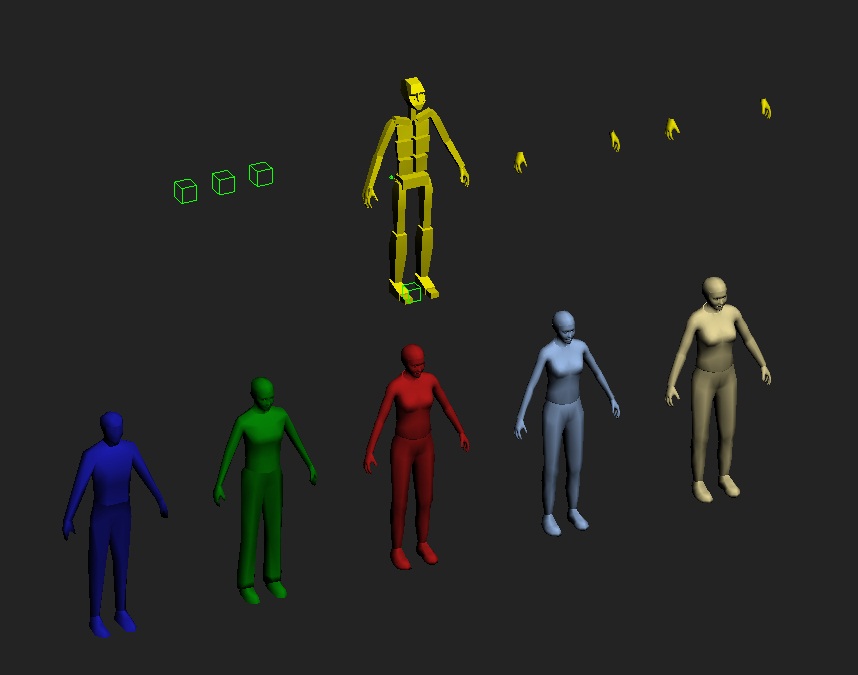
This is the animated bone structure of the Female Avatar for MOUL.
If you already have clothing mesh you have made and want to use, that is great! If you do not have any, then you can use this file here, which is just some basic pants: pants.max
You do not need this file, however this is what you should end up with at the end of the tutorial: PantsNeolbah.max
avatar-documentation.pdf This is Cyan's documentation on the Avatar for making clothing.
The following are python files made by Mark DeForest (aka Chogon) and can be extremely useful:
This file will allow you to let the avatar link to the Relto closet without having to go to Relto, and when they are done, will link back into your Age.
This file will save what the player is wearing to the client's hard drive before they put on whatever reward clothing your Age offeres.
This file will return the clothing that was saved to the client's computer in case they want to change back to the clothes they were wearing just before they put on the Reward clothing your Age offered.
Getting Started
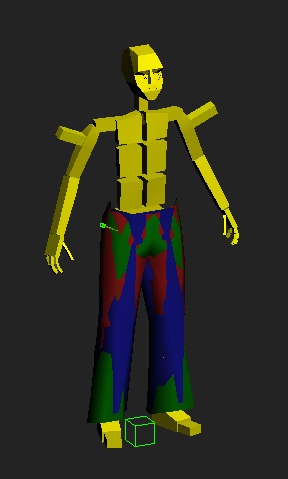
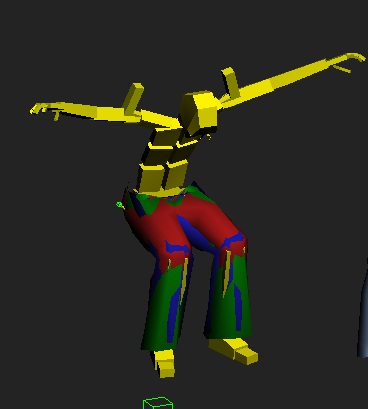
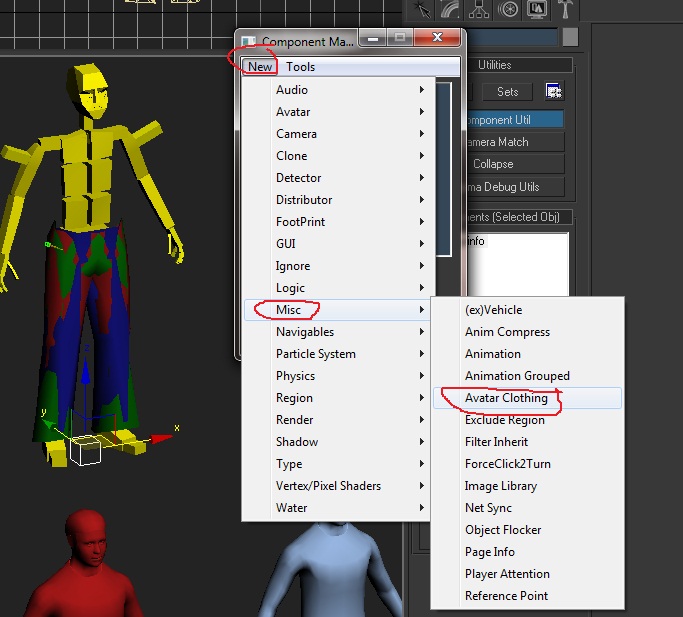
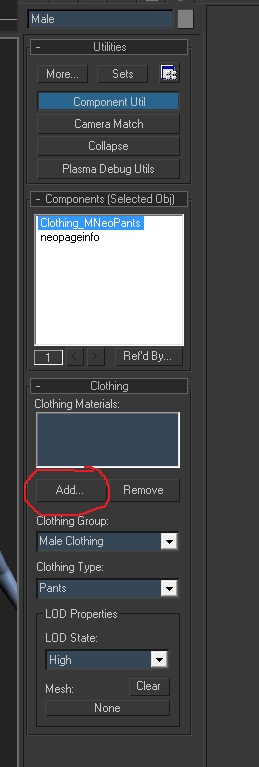
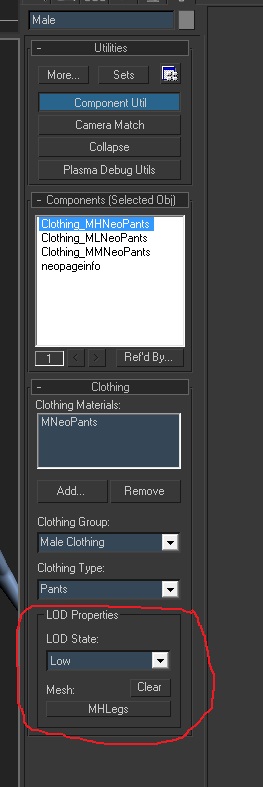
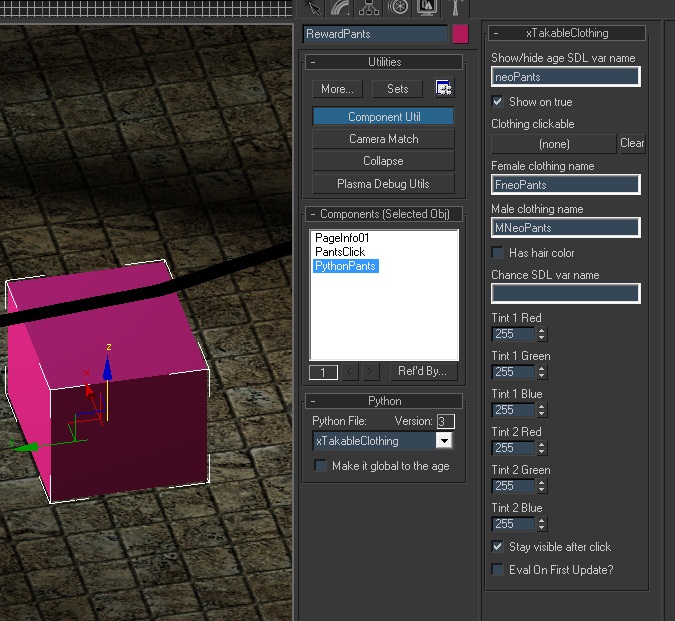
Okay, before we dive right in, I want you to take a look at the pants mesh that is in the file I provided in the above link, even if you are going to try and use your own clothing mesh, there is something important that you will need to understand. When you open up the pants.max file, you will see this in the 3D Scene:
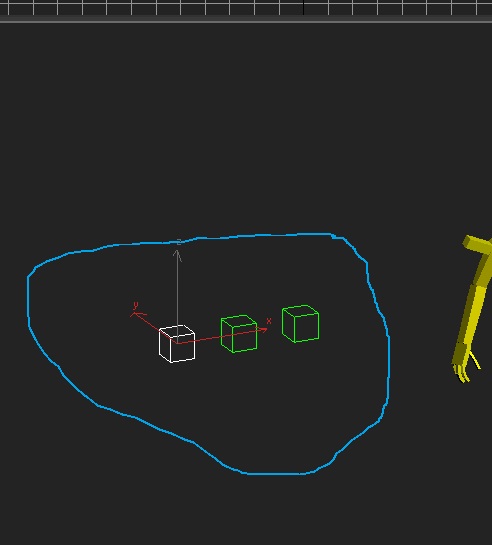
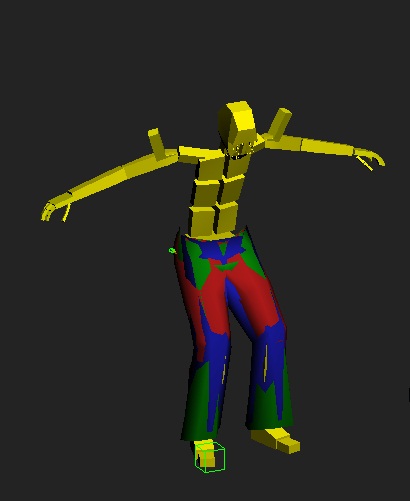
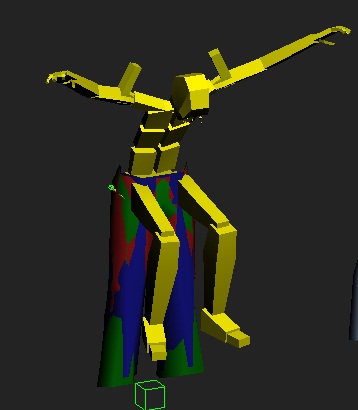
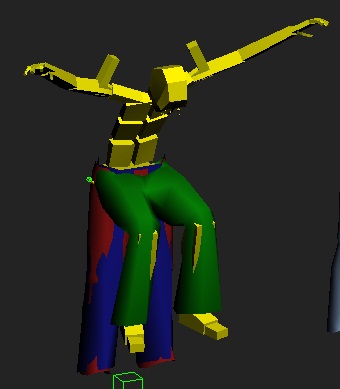
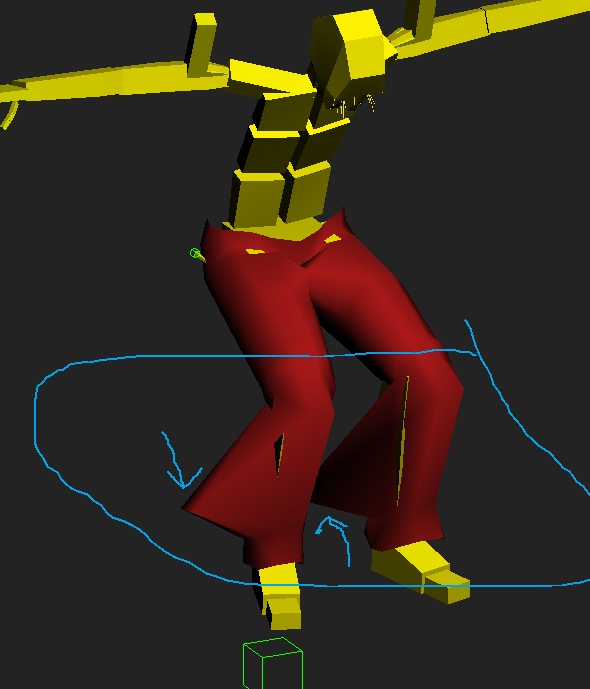
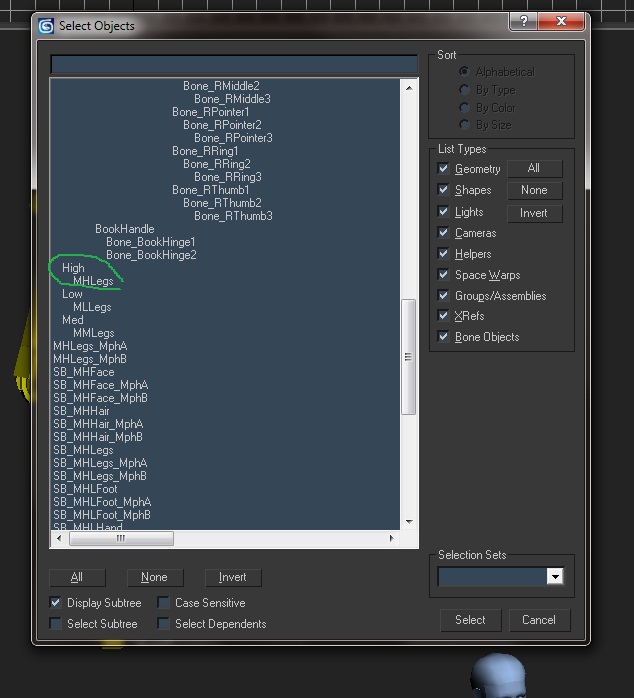
As you can see there are what looks like 3 sets of pants. In reality there are 5, as 3 of them are all sitting in the same place. The coloring of the meshes is very important, as it helps you keep track of what mesh is what:
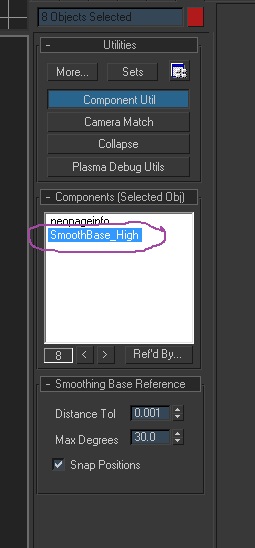
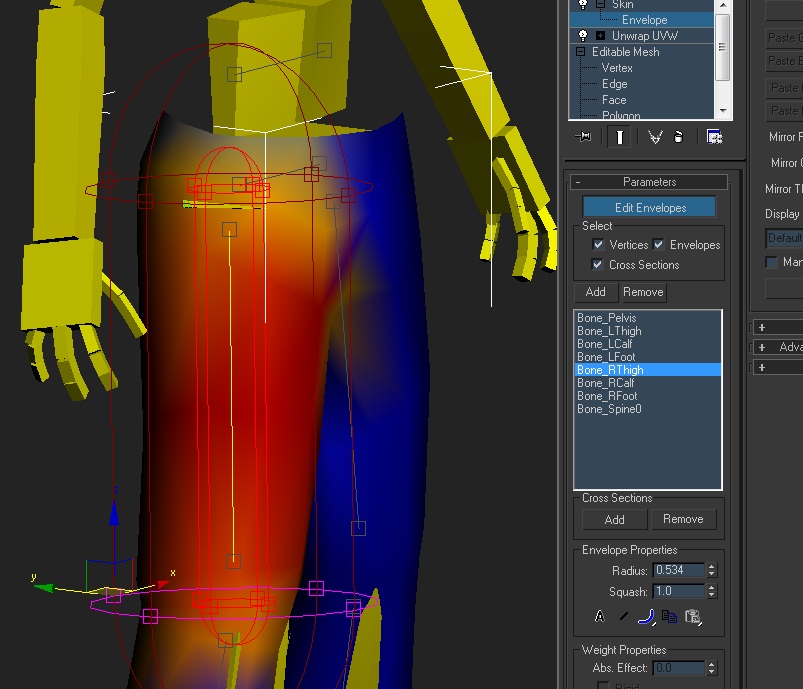
The Red mesh, is considered High Ploy or High Faces. This will be your highest resolution of your clothing Mesh.
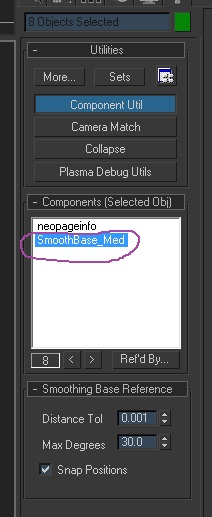
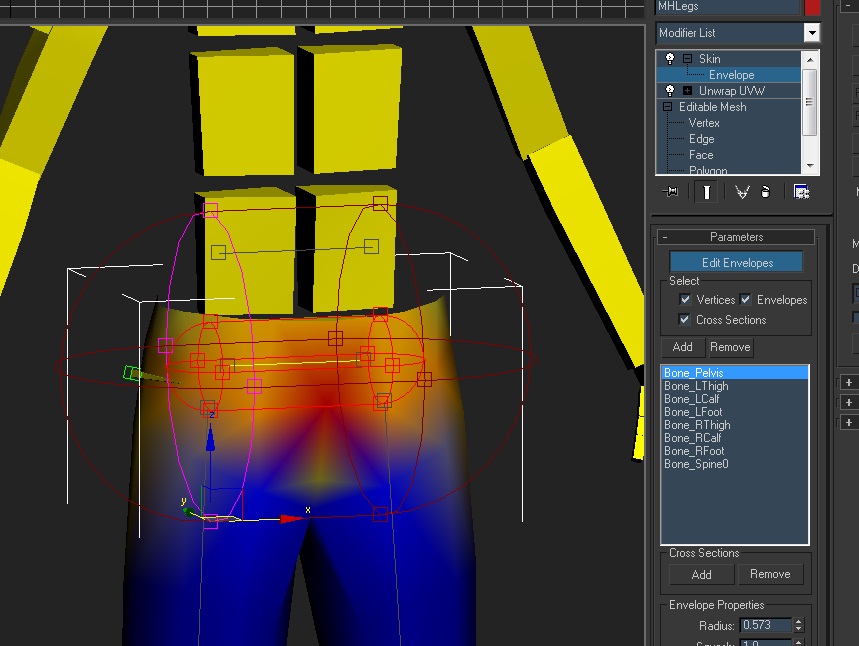
The Green Mesh is considered the Medium Poly or Medium Faces mesh.
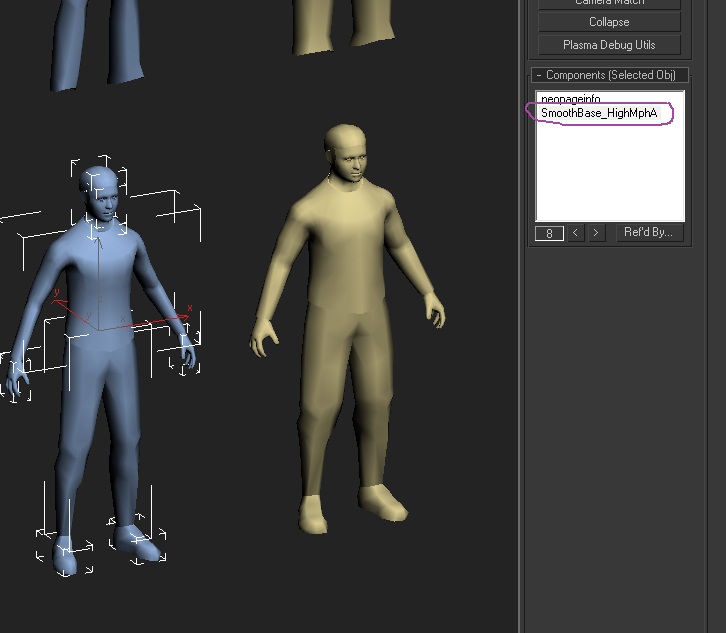
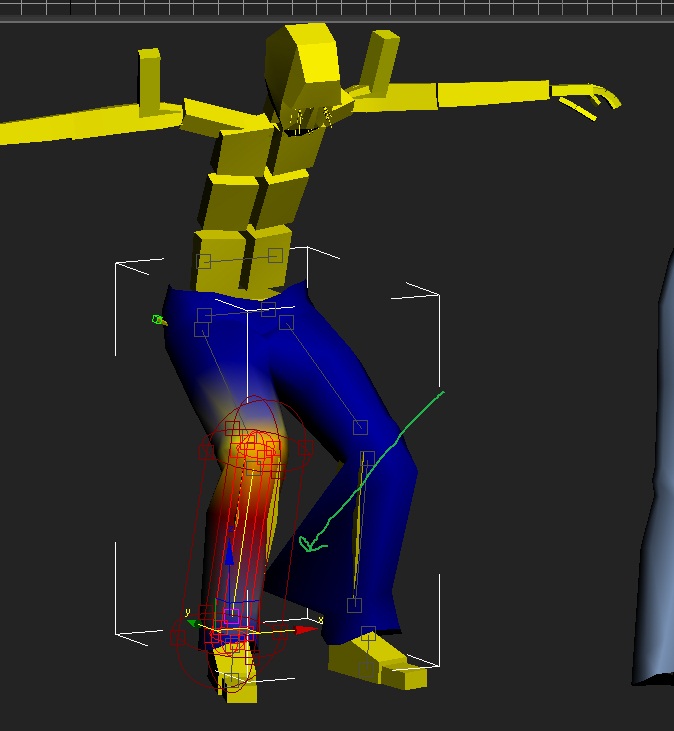
The Dark Blue Mesh is considered the Low Poly or Low Faces mesh, and will the the lowest resolution of your clothing Mesh.
