Important! Please read the announcement at http://myst.dustbird.net/uru-account.htm
Also! Please read the retirement announcement at http://myst.dustbird.net/uru-retirement.htm
Difference between revisions of "UV Mapping: Unwrapping Methods"
AndyLegate (talk | contribs) (Created page with 'One of the biggest challenges facing the New Age Writer is: How? Many times the New Age Writer will run into the same answer: "Go to the Blender resource web site." or "Do th…') |
AndyLegate (talk | contribs) |
||
| Line 278: | Line 278: | ||
[[File:Cylinder2.jpg]] | [[File:Cylinder2.jpg]] | ||
| − | Then align your 3D window view to either Side or Front or however you need to so that you are looking at the | + | Then align your 3D window view to either Side or Front or however you need to so that you are looking at the '''SIDE''' of the cylinder mesh, not it's top or bottom. Select all the OUTSIDE faces: |
[[File:Cylinder3.jpg]] | [[File:Cylinder3.jpg]] | ||
Revision as of 20:57, 4 January 2011
One of the biggest challenges facing the New Age Writer is: How?
Many times the New Age Writer will run into the same answer:
"Go to the Blender resource web site."
or
"Do the Blender Noob to Pro tutorial from Blender."
Many of the things that a new person wants to know how to do are hard to find, or are not even mentioned at all. Worse, many of the Blender tutorials will talk about it, but in a very general way, expecting you to explore on your own and figure things out.
Over here I try to answer some of those questions. Today I'll be talking about how to "Unwrap" an object for the UV Editor so you can apply your textures.
Contents
Unwrapping: or How I Love To Pull My Hair Out!
One of the first things I ran into while learning how to create Ages, was just how hard it is to get your textures to look right. The main problem being that it was hard to unwrap a mesh
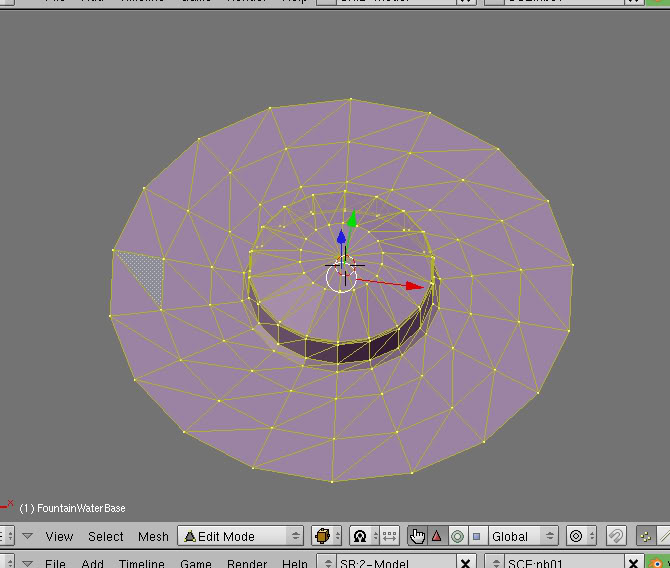
In my latest blog, I talk about my water in my water fountain, and getting the texture to appear right. I went to Blender and loaded up Bevin, and looked at Cyan's water mesh:
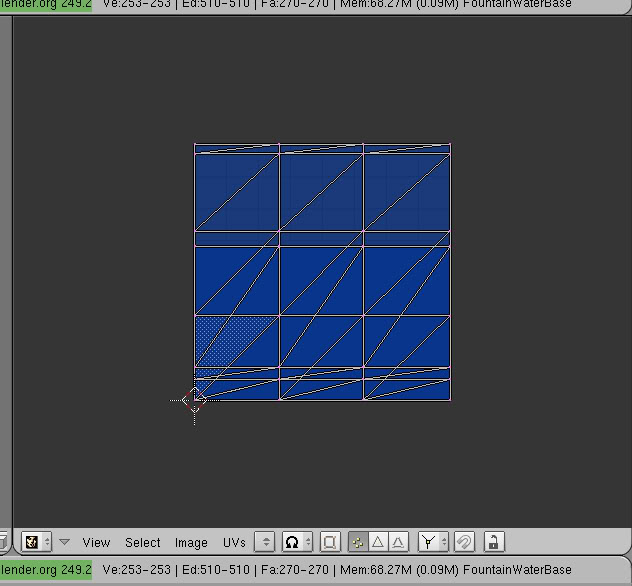
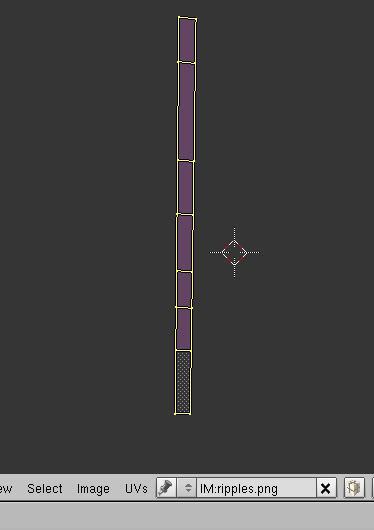
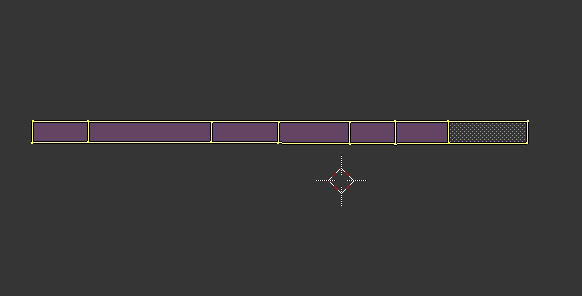
I then looked in the UV Editor:
As you can see, they got the faces squared off neatly where the texture goes.
How did they do that?
Well, there are many ways to unwrap objects. I'll show you some of them here. The important thing to remember is: Not every mesh will be unwrapped the same way!
Getting started: Simple Unwrapping.
Okay, let's start with something simple: Project From View
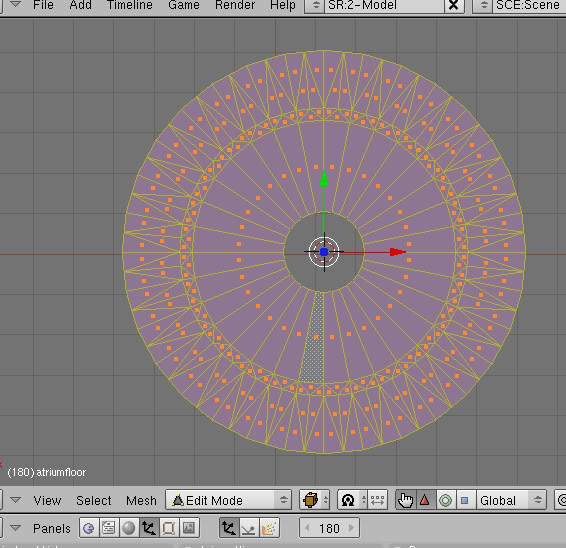
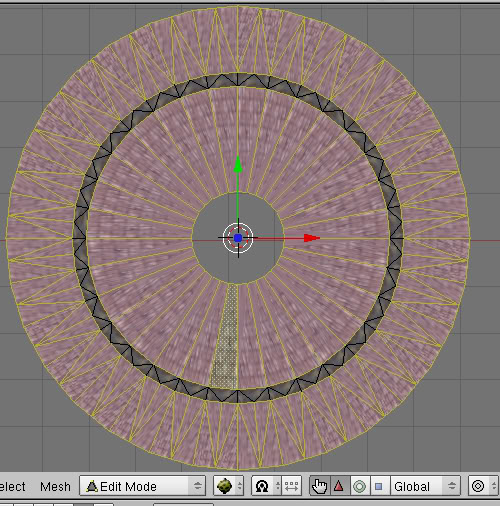
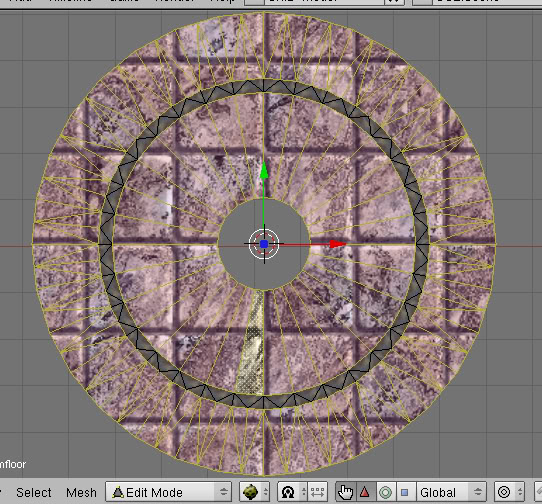
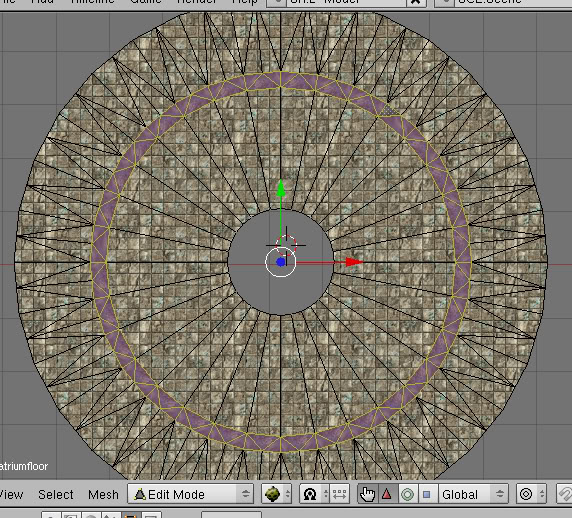
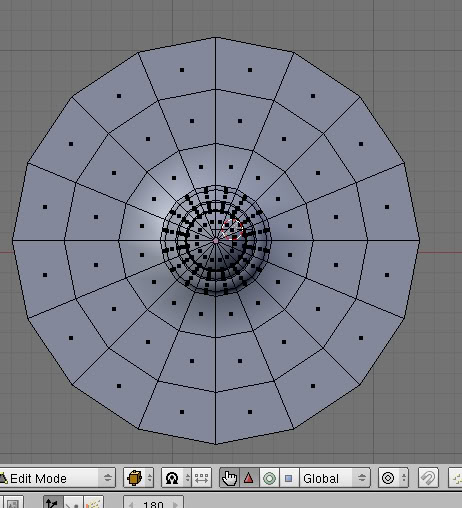
I've got a mesh here. Its the floor of the atrium from my age Neolbah. Here it is:
Nothing too complex. It's going to be bricked tile, but with a ring of different material in it, like we see in the floors of all the pubs.
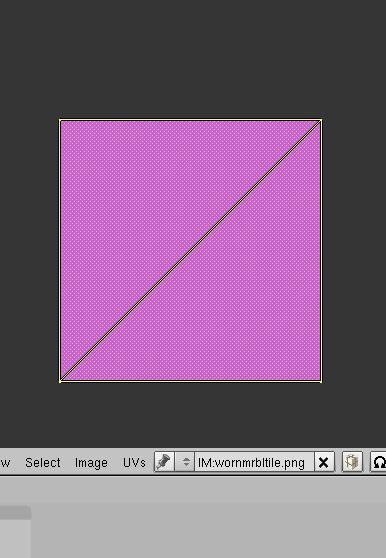
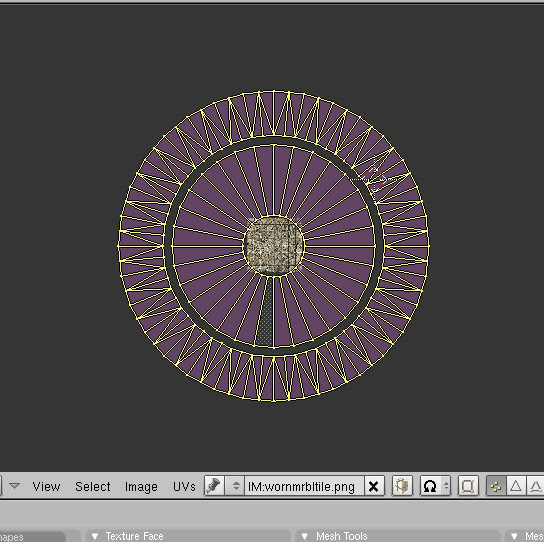
Okay, when we first open up the UV Editor, we see this:
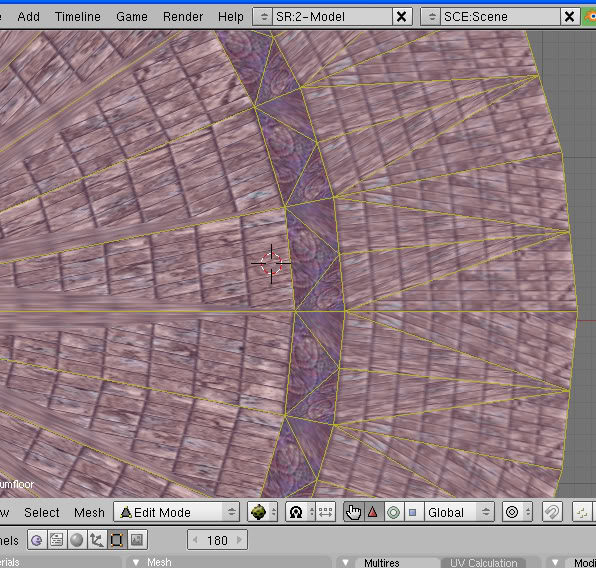
Looks simple and is not unwrapped yet. Now if we simply apply the texture to the UV Faces, this is the result we get:
As you can see, the textures are all out of joint, mixed up, blured.......AAAAHHHHGGGGG!
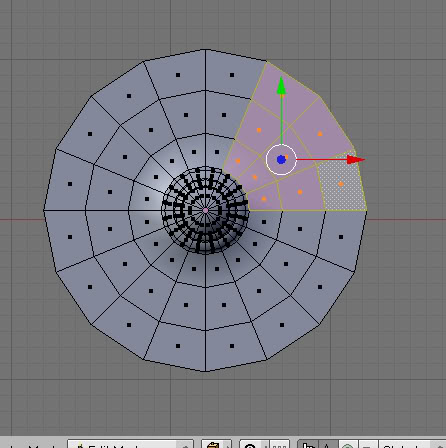
Okay, calm down, we just need to unwrap it correctly. First, select the faces you want to apply your texture to. In this case, I have 2 textures that go on this mesh. I'll start with only the bricking first:
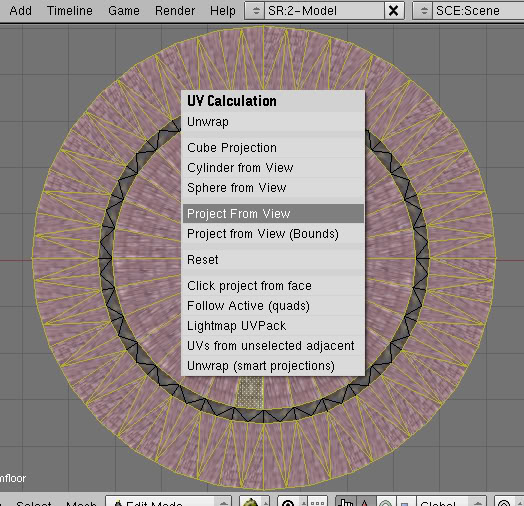
Go to your 3D screen with your cursor and hit the "U" key. You should have a box pop up that looks like this:
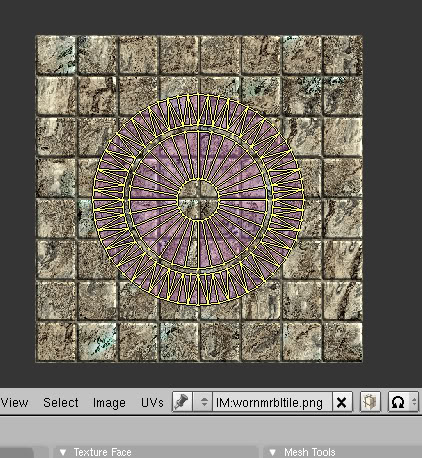
Click on where it says: "Project From View" This is what you'll see in the UV Editor now:
Unfortunately, when we look in the 3D window, the bricks are GIANT size (repeat "GIANT size" in your head until you hear an echo......).
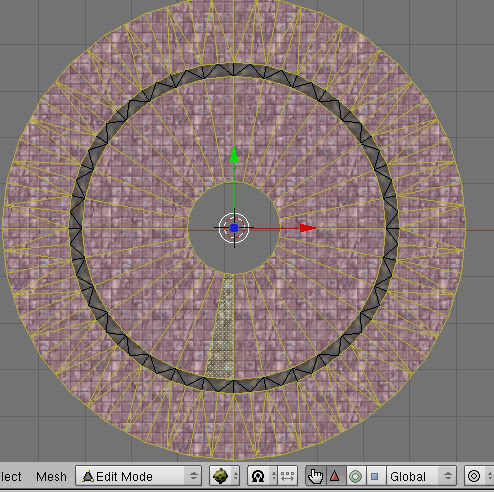
This is okay, we just need to do some scaling in the UV Editor window. Move your cursor there and hit the "S" key. Move your mouse outwards until you see how you want the bricks to appear in size in the 3D Window:
There we go! Looking really good now!
Okay, how about that texture for the ring?
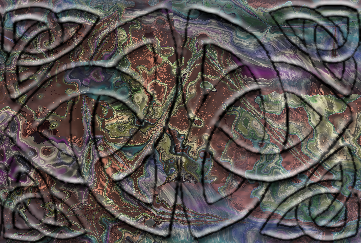
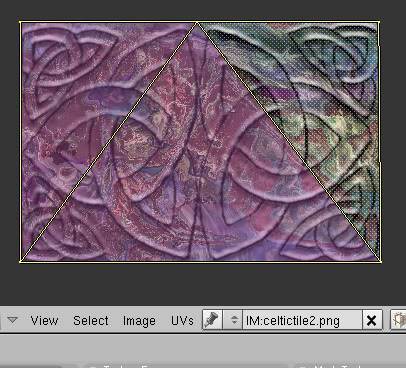
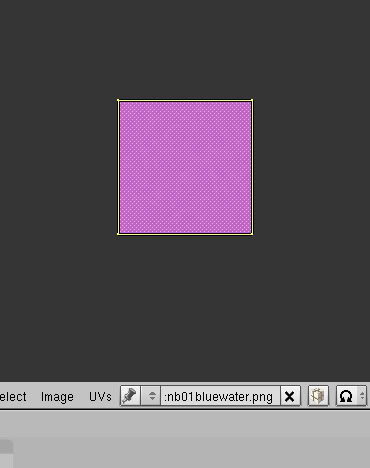
Okay, if you've jumped ahead, you've most likely found that unwrapping the ring with "Project From View" does not work out well at all! Here's the texture I'm using:
We need to fit the faces of the ring horizontally across this. Here's how you can do it:
First select all the faces of the ring only and then open up your texture in the UV Editor.
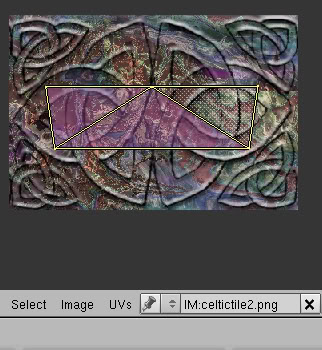
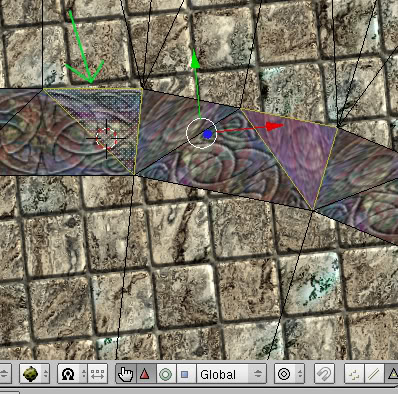
Now go to the 3D window, zoom in and orient the view so that you see 3 of the faces, and select just them, like this:
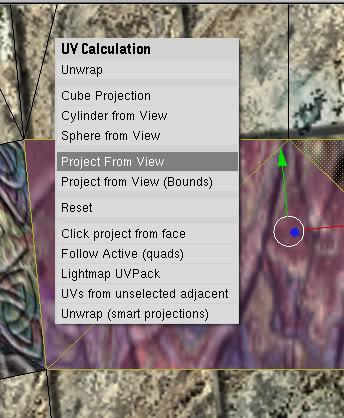
Now with the cursor in that window, hit the "U" key and select "Project From View" again now:
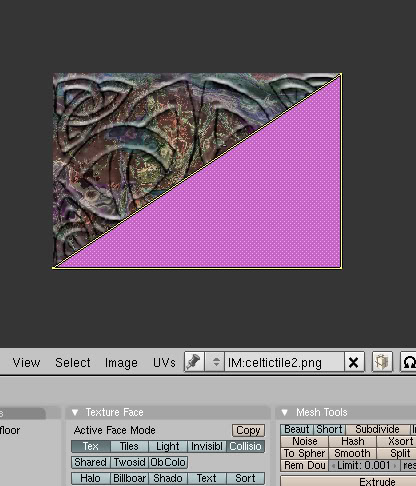
Here is what you'll see in the UV Editor:
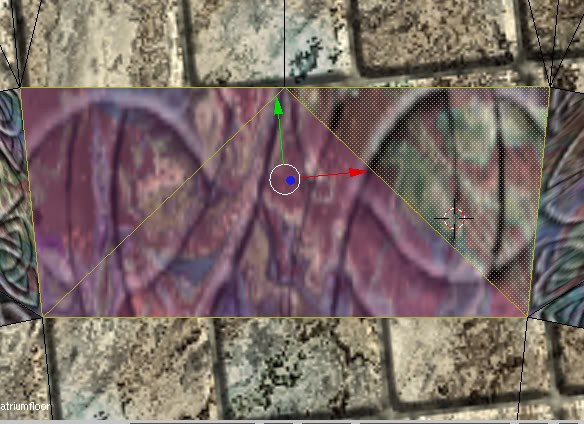
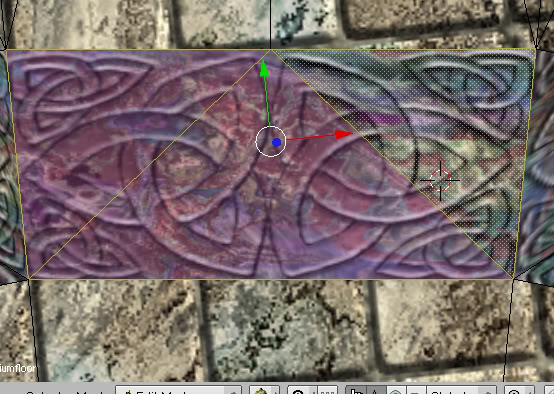
Okay, now in the UV Window, select your verticies and scale/move each one so that your 3 faces cover the texture, like this:
Now look in the 3D window. Looks great right?
So now you do that for each group in your ring, right?
Whoa! Hold up there partner! There is an easier way to do this:
First, make sure you are in the Edit Panel:
Next, select one of the faces in the next group over:
Then hold down your "Shift" key and select the same face in that first group we got aligned right:
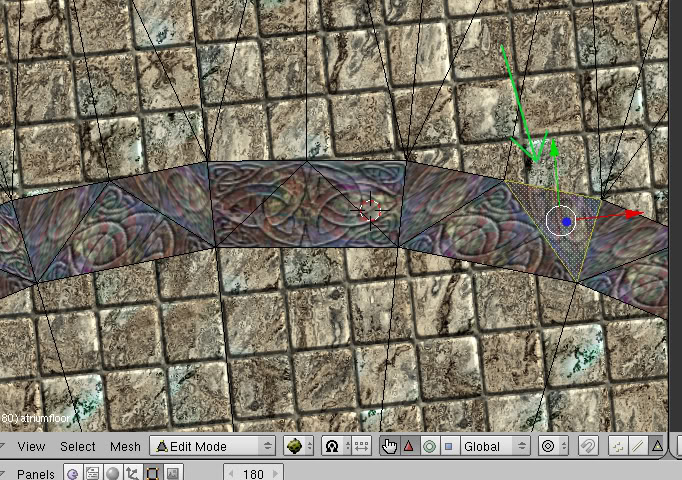
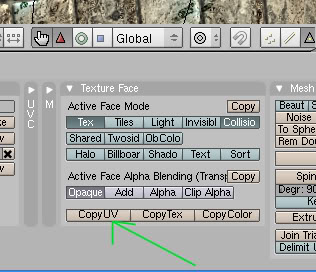
Now go down to the Edit Panel and click on the button that says "CopyUV" in the Texture Face box:
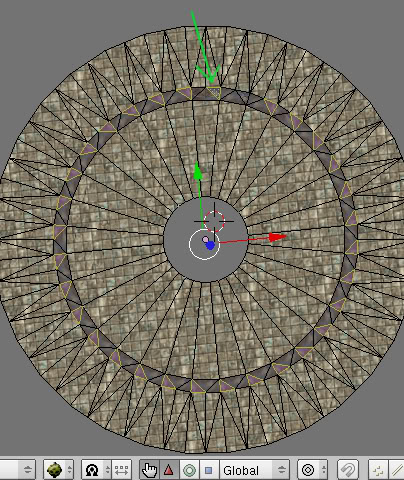
As you can see, it changed the first face we selected so that it's aligned like the one we did earlier! If you are feeling brave, you can go select all the faces of that same one that we have not done yet, then select the aligned face last, like this:
Then hit the "CopyUV" button again, and it will align all those other faces like our first one.
Now you can go back and do the other faces, keeping in mind: Select the face or faces you want to change first, and then select the face you want to copy LAST, THEN hit the "CopyUV" button.
That was easy, wasn't it? (hey....starting to sound like a Staples commercial here).
Okay, that's it for projected view unwrapping. Remember, each situation will be different.
Follow Active Quad
Okay, this is one of my more favorite ways to unwrap, especially when dealing with complex geometry like:
Ponds, water ripple rings, shore foam, etc.
When I first made Camp Bravo with a swimming pool, and later on with Zephyr Cove's shore foam, I spent literally HOURS unwrapping the faces, as they had to be unwrapped so that their X and Y axis lined up with the texture in the UV Editor. This is because the textures are animated and move either along the X axis or the Y axis.
Now the Swimming Pool in Camp Bravo was actually pretty easy. It was a rectangle after all, so the mesh faces were aligned okay.
But the shore line in Zephr was ANYTHING but straight! heheh. I wish I had known then what I know now, but for you, I'll show you a nice little secret of how to get the more complex geometry like that unwrapped and aligned faster.
UV Unwrapping Using: Follow Active Quad
There is a restriction when using this Unwrap method: you can only use it with Quads, it will not work for Triangles. Quad is defined as a face that has 4 vertices and sides (hence the name "Quad" meaning 4). So it doesn't have to be a square or a rectangle, it simply has to have 4 vertices and sides.
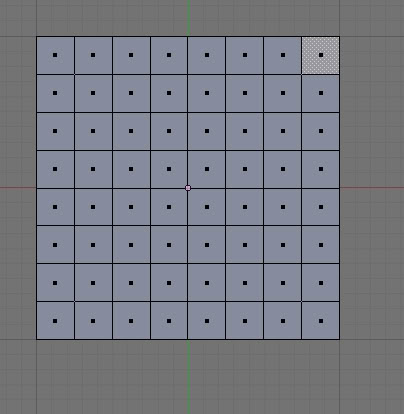
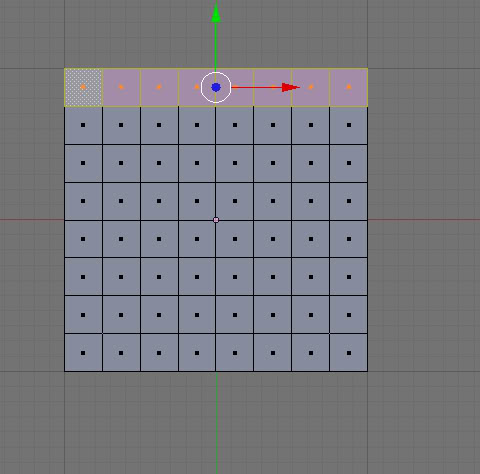
Okay, to introduce you to "Follow Active Quads", I'm going to start with a simple flat plane that I've sub-divided into several faces:
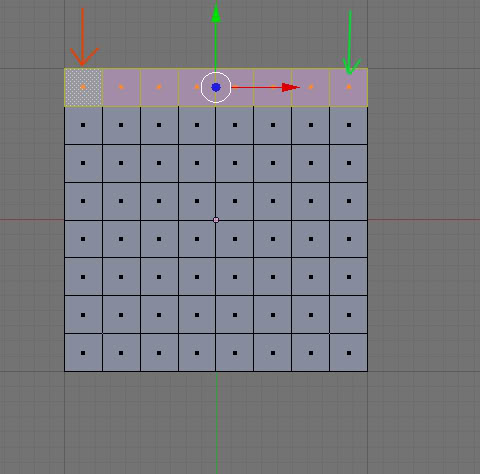
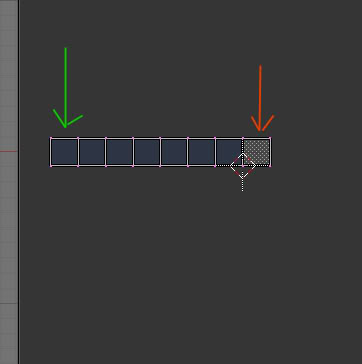
What we're going to do is select the top row of faces, one at a time:
Now I want you to note something, in this next pic, the red arrow marks the first face I selected, and the green arrow marks the last face I selected:
There's a reason for this, I'll show in a minute.
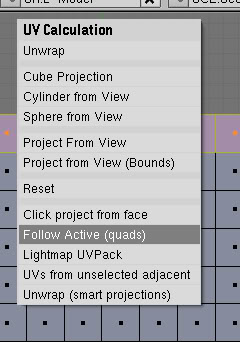
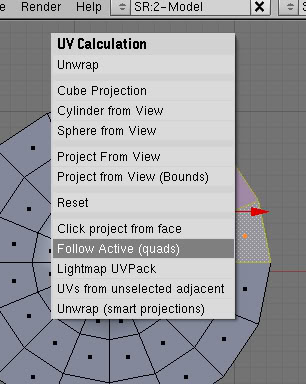
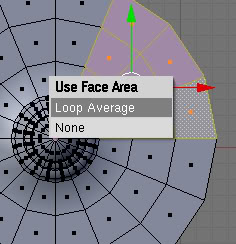
Now, put your cursor in the 3D Window and hit the "U" key, select "Follow Active (quads)":
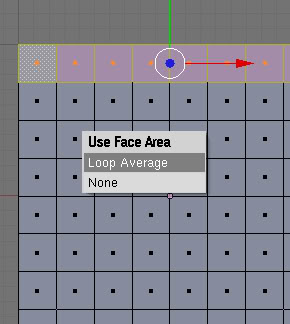
A little box will pop up, click on "Loop Average":
Okay, now look over in your UV Editor window:
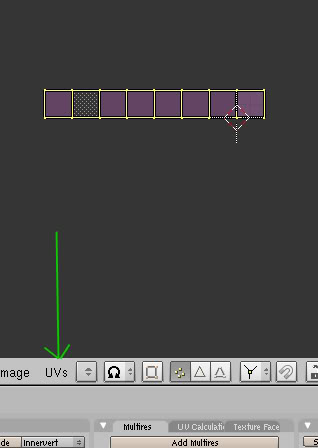
There are my arrows again. As you can see, it unwrapped in a nice row like your mesh....but with the order of the faces flipped. If this happens to you, it's no biggy, simply do this:
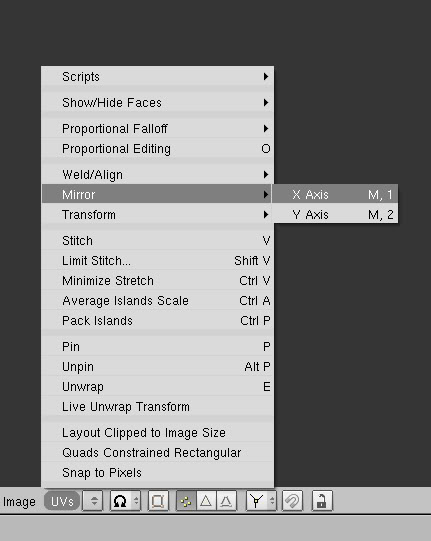
Select all the faces in the UV Editor window by putting your cursor there and hitting the "A" key until all the faces are lit up. Then click where I have my green arrow on "UV"
Now select "Mirror" in the menu that pops up and then "X - Axis"
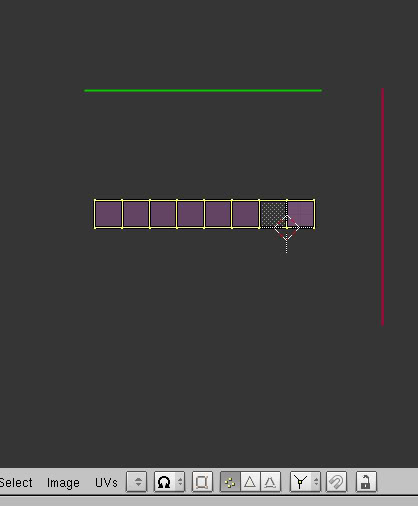
Gentle reminder: in the UV Editor Window, it's is always a 2D representation. The green line shows the "X" axis, and the red line shows the "Y" axis". There is NO "Z" axis in the UV window.
Okay, now you would be good to go to apply your texture, scale it, align it, etc.
Lets do something more complex....like my fountain of water from my new Age:
So I've got quads there, but they ain't no nice and perfect squares or rectangles. Yet that's what I'm going to need in the UV window. I could spend large amounts of time moving verticies and faces around in the UV Window, but the way I'm about to do it is a LOT easier and faster.
First I'm going to select 3 "columns" I'll call them for now. This will be 9 faces:
As you can see, it's just a square face in the UV Window:
Let's unwrap it using Follow Active (quad):
Again, don't forget to click on "Loop Average":
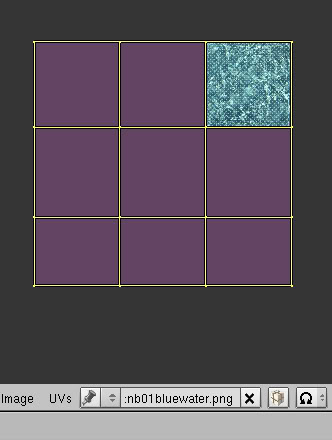
And as you can see in the UV Window, I now have all 3 columns (9 faces) as nice squares and rectangles:
Since this is a animated texture for moving water, I'll scale all the faces down quickly and confine them to the borders of the texture:
[[File:Follow16.jpg[/img]
There you go, it's that simple.
How about something even more complex? How about something like Shore Foam?
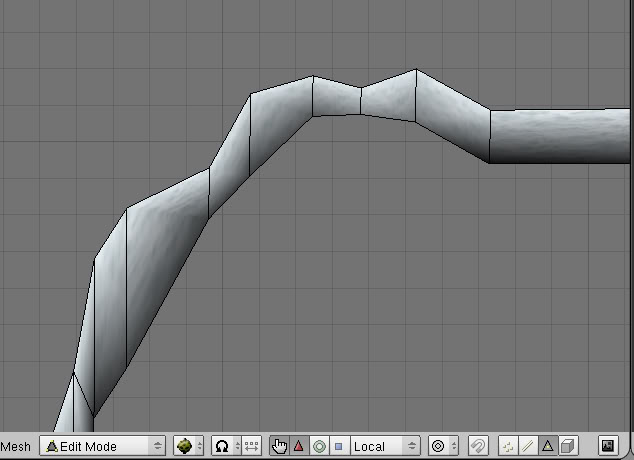
Here's part of the shore foam from the old Zephyr Cove (I say "old" because I'm redoing it from scratch):
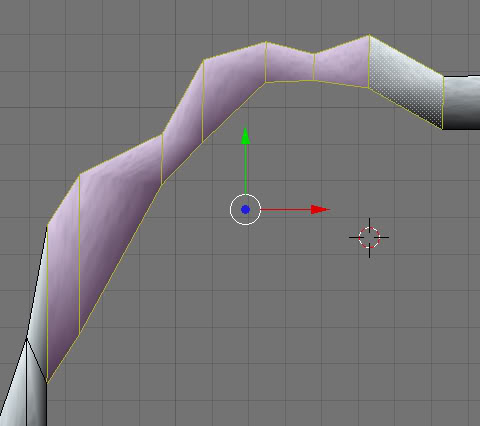
Now we'll select a group of quads (notice how I have some triangles in there, can't select them or this type of unwrapping won't work):
Now unwrap it using Follow Active (quad) again, and you'll see this:
Okay, it's not perfect....and it's even verticle....but it's a LOT easier to deal with this, than the way the original faces were. I changed these faces to the below pic in about 30 seconds:
Now we can apply the texture.
So that's pretty much it. I hope you find this unwrapping method useful and easy to use.
Cylinders.....
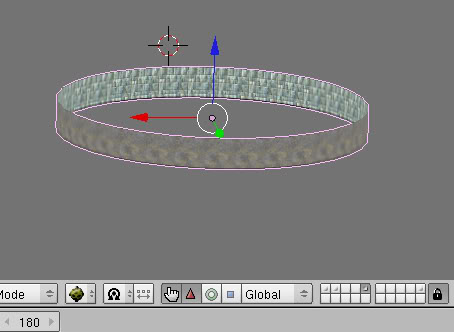
Here is the base of my water fountain in my new office area that I'm making. A nice and easy Cylinder mesh:
Go to edit mode:
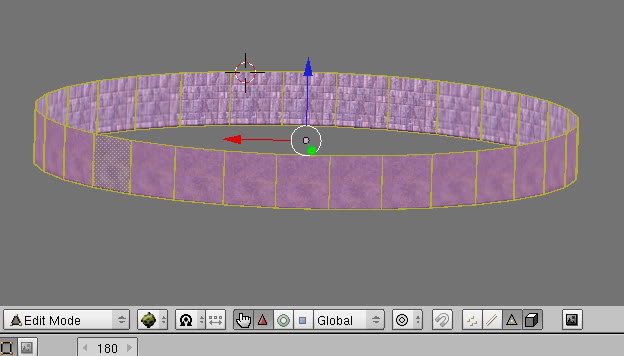
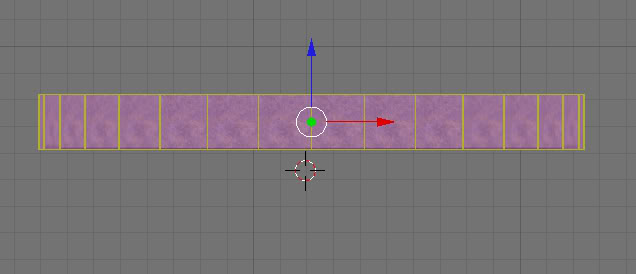
Then align your 3D window view to either Side or Front or however you need to so that you are looking at the SIDE of the cylinder mesh, not it's top or bottom. Select all the OUTSIDE faces:
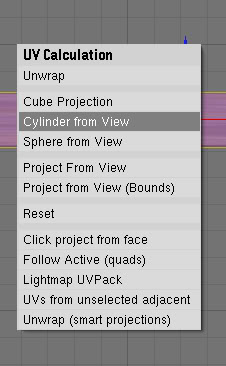
Then with your cursor in the 3D window, hit the "U" key, and in the box that pops up, select "Cylinder From View"
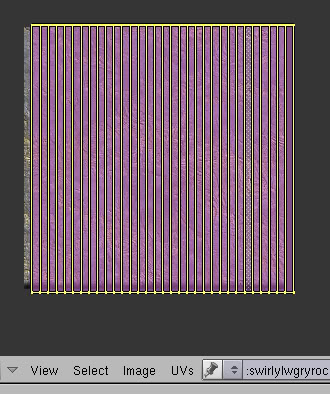
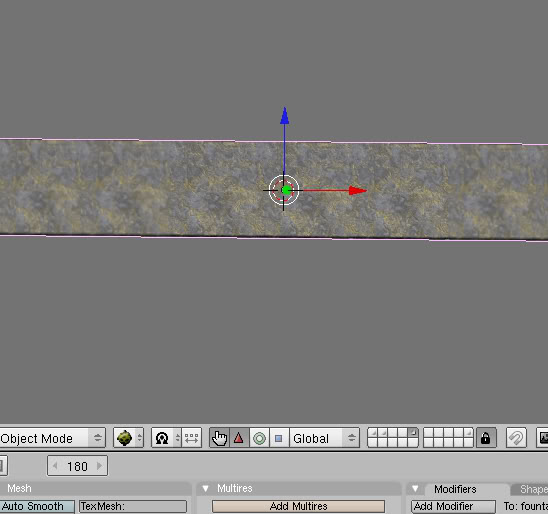
In your UV Window, you'll get something like this:
Scale the "Y" axis (up and down) so that it fits the texture.
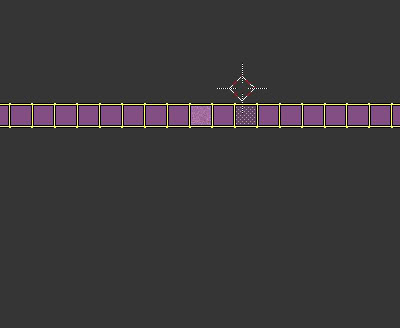
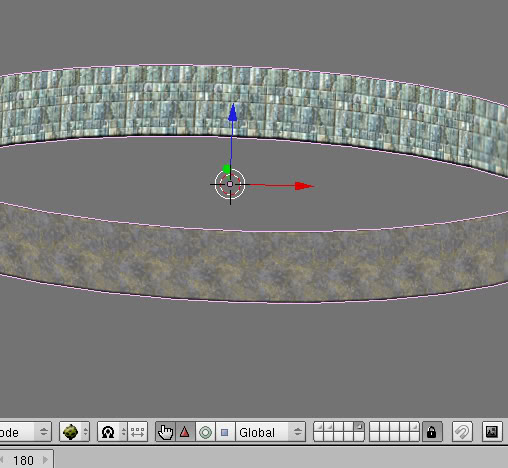
Then scale the "X" axis (left and right) outward until the texture on your mesh looks correct:
That is pretty much it. If your cylinder is to be textured on the inside, repeat the steps above, but select only the INSIDE faces when you go to unwrap:
Spheres......
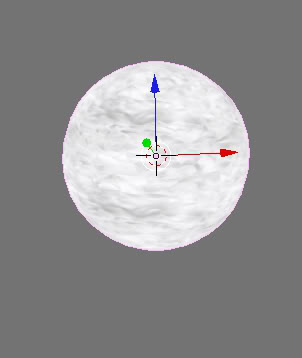
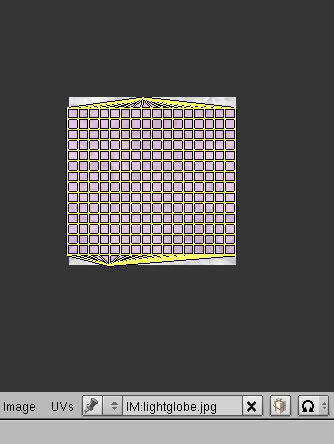
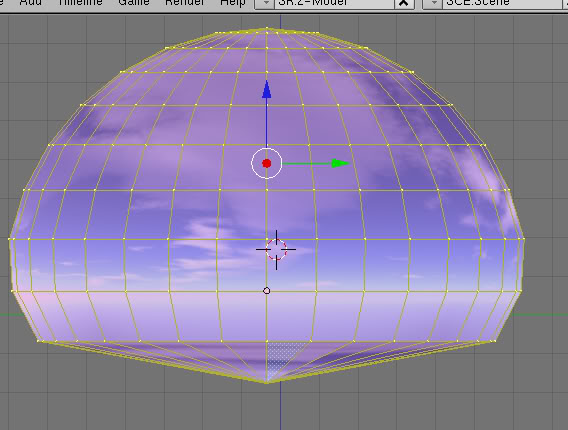
Unwrapping a sphere or partial sphere (Sky box), is very much like doing the Cylinder. Here is a light globe from one of my Ages:
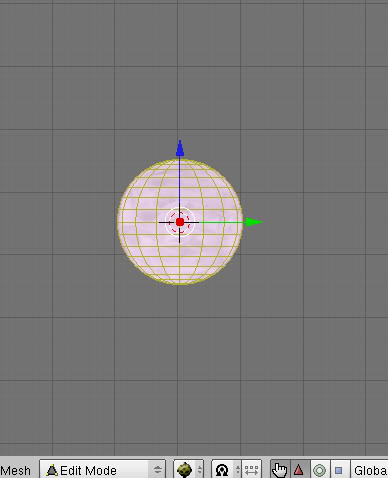
Again, you align the view to front or side, then go into Edit Mode and select all the faces:
Hit the "U" key with the cursor in the 3D window, and select "Sphere From View". This is what you'll get in the UV Editor Window:
Then use scaling to adjust the faces on the texture.
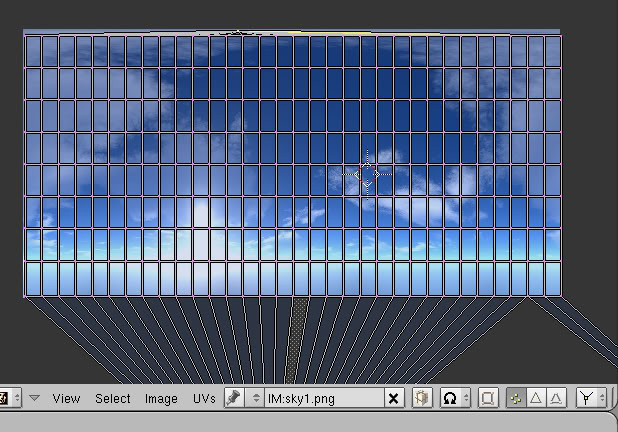
Sky Boxes you normally are using only the upper 2/3 of the sphere, but you still unwrap the faces the same way. Here's the sky from Camp Bravo:
That's it for these two. They are very easy to use.
Return To: Andy's Blender Tutorials
