Important! Please read the announcement at http://myst.dustbird.net/uru-account.htm
Also! Please read the retirement announcement at http://myst.dustbird.net/uru-retirement.htm
Difference between revisions of "Plants"
AndyLegate (talk | contribs) (Created page with 'One of the things you may have run into while making your Age, is problems with Plants like trees, especially if you have tried to use 3DS Max's Plant Library, or other free mode…') |
AndyLegate (talk | contribs) |
||
| Line 100: | Line 100: | ||
---- | ---- | ||
| − | + | Return To: [[Andy's Max Tutorials]] | |
Latest revision as of 14:58, 6 August 2011
One of the things you may have run into while making your Age, is problems with Plants like trees, especially if you have tried to use 3DS Max's Plant Library, or other free models that you can download that people have made in Max. Part of the problem is that the plant will be treated as one mesh, with X amount of faces. Cyan's plugin will not export anything over 20,000 faces. Some models with their leaves for say a tree can easily exceed that ammount.
The thing to do would be to isolate certain faces of the model and detach them to their own mesh, say the trunk first, then the branches, etc, etc. So instead of one large mesh with too many faces, you will have separate meshes with lower face counts.
If you have tried to do this with the plants located in Max's Plant Library, you may have noticed how tedious this can be. I'm going to show you a much quicker way to separate the meshes.
Create A Tree
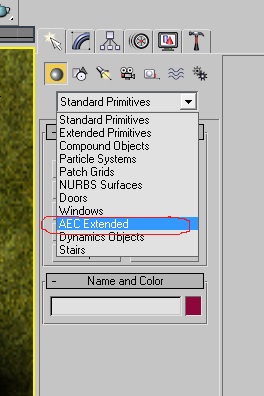
Find a place that we want to place our tree. Select AEC Extended for the object type:
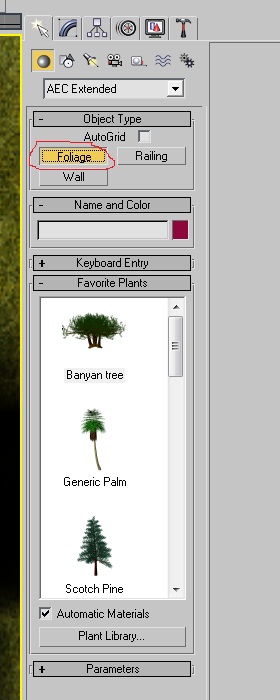
Then click on the "Foliage" button:
I've decided to do a Elm tree, so I click on it to highlight it:
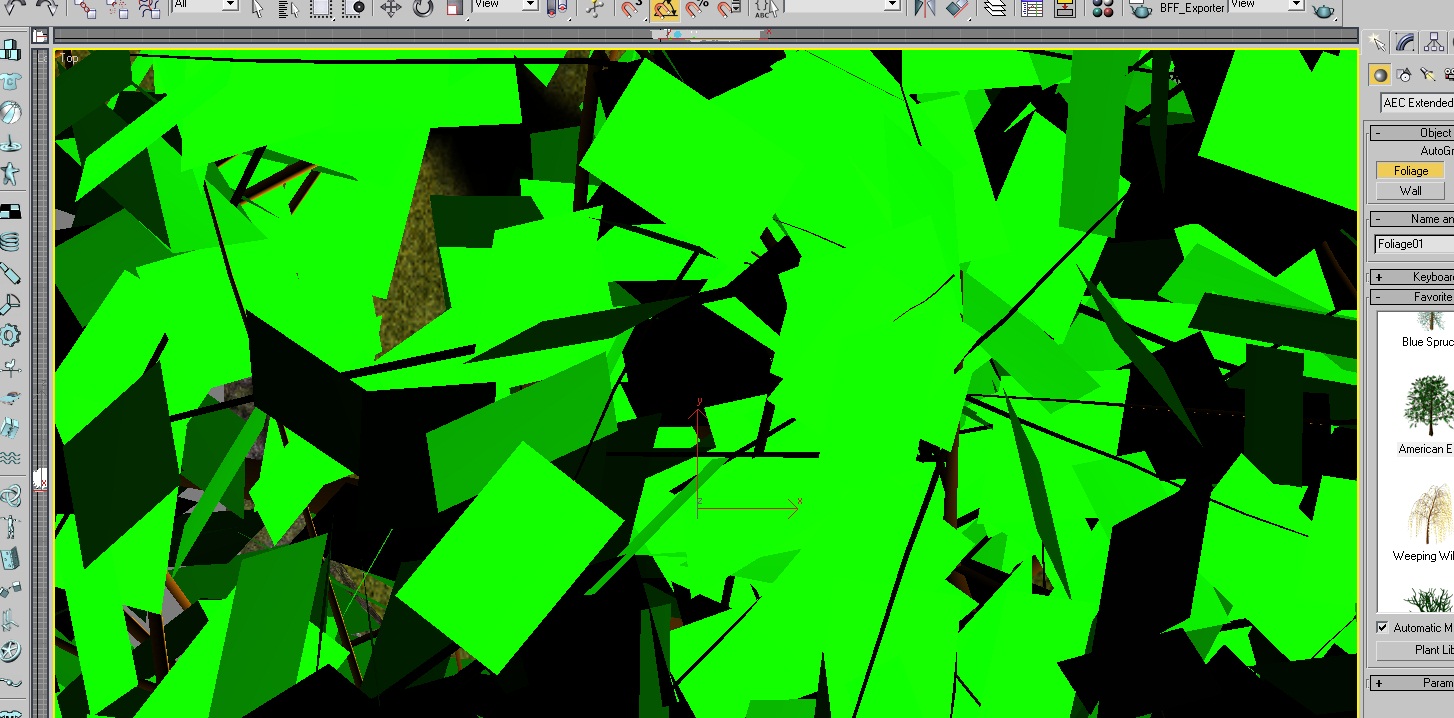
I then go down in my 3D Scene window and click where I would like the tree to me. As you can see, my screen suddenly fills up like this:
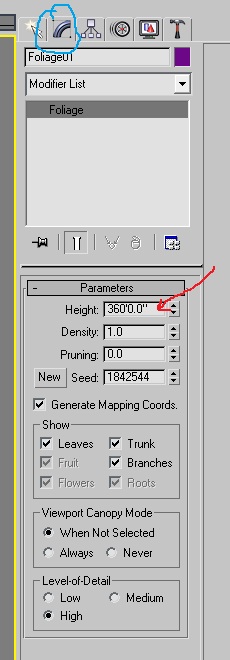
This is because Max makes the plant unreasonably HUGE. The tree is over 360 feet tall!
If I click on the modifier tab, I can call up the tree's attributes and adjust the height to something a bit more resonable, say like 25 feet:
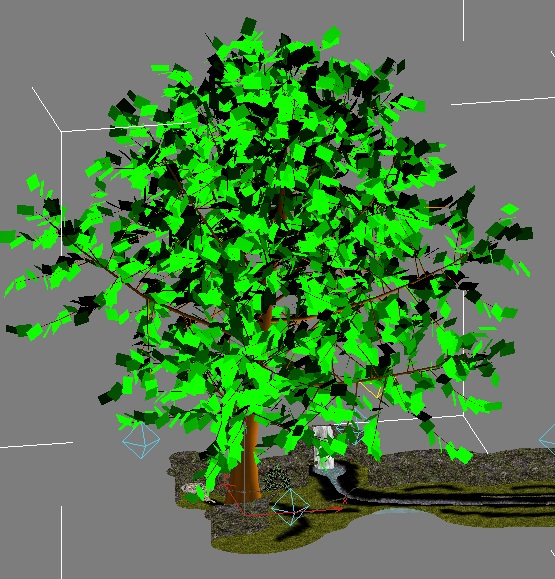
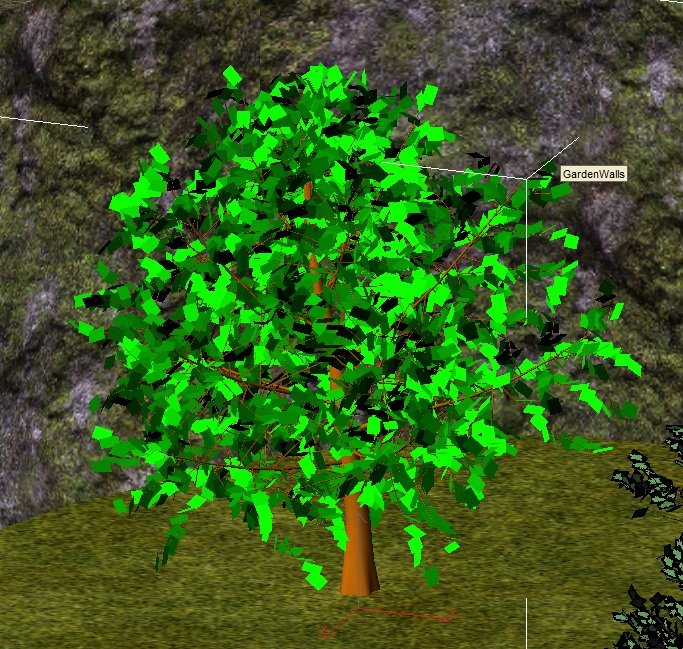
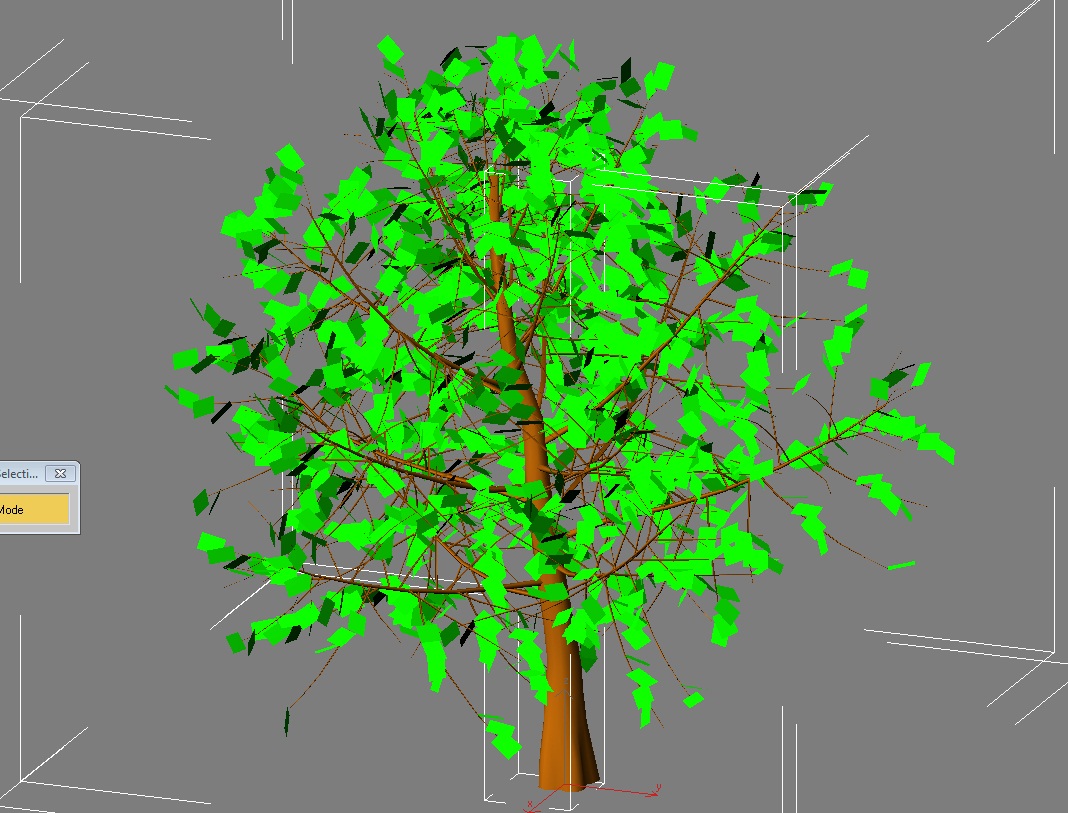
Now the tree looks a lot better as far as it's size is concerned:
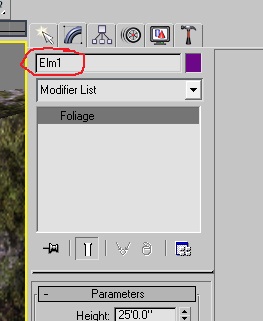
Now I will rename the tree to "Elm1":
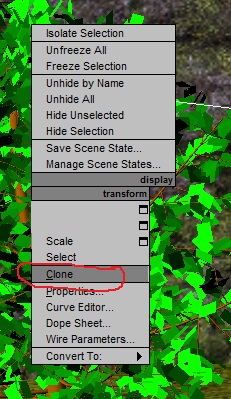
We are going to make 2 copies of this tree. With the tree, right click in the 3D Scene window and select "Clone":
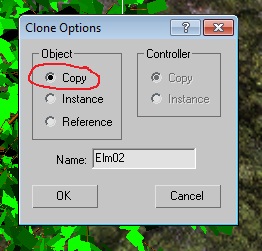
In the box that pops up, you can see the name has already been appended to Elm02. Make sure you click on "Copy" instead of "Instance" (this is because if you pick Instance, any changes made to one copy will be reflected on to the mesh you cloned from. We do not want that, so make sure you use Copy):
Once you have made this copy, go ahead and make another copy, Elm03, so that we have 3 trees now.
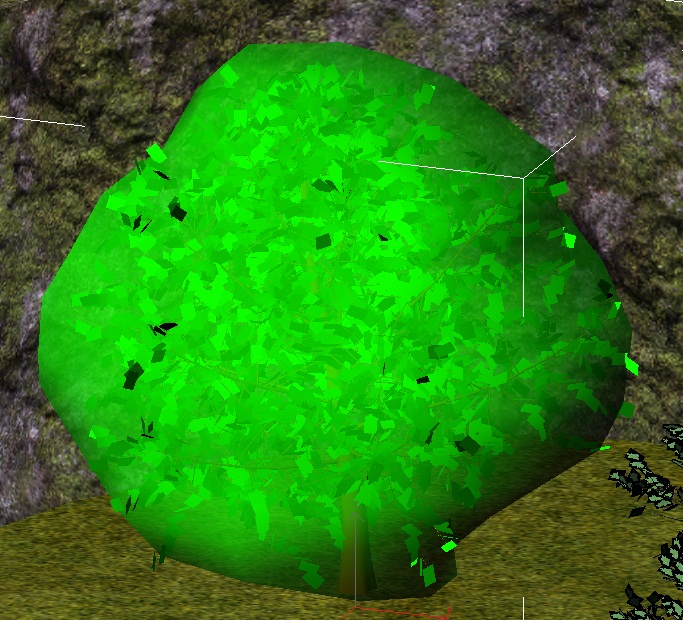
You may have noticed that when you did this, the leaves changed to look like a blob, like this:
Do not worry, as the reason for this is due to the settings in the modification tab. If you take a look in the "View Canopy Mode" box, we have "When Not Selected" marked:
Change the mark to "Never" for all 3 trees.
Now, starting with "Elm1" selected, in the modification roll out where it says "View", remove the check marks from Leaves and Branches:
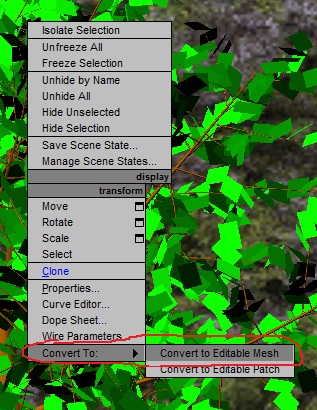
This will make only the trunk visible for that model. Now right click in the 3D window and select Convert and then Editable Mesh:
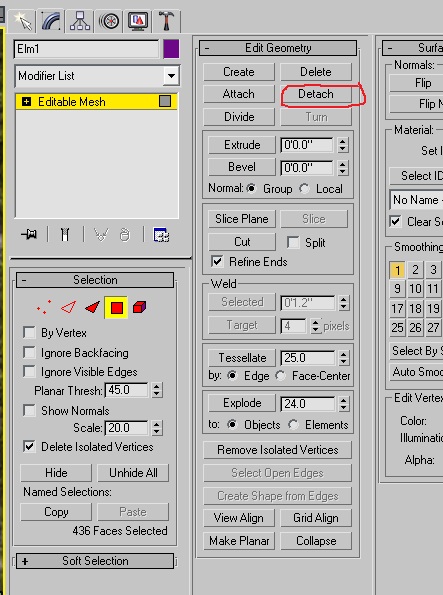
In the Modifications Tab, you can select Faces or Polys, and then select all the faces of the trunk. Once you have, click on the Detach button:
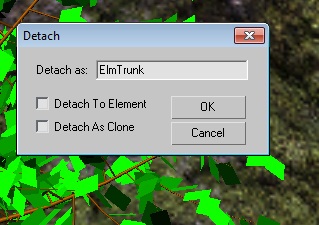
A box will then pop up, asking want to call the trunk (default is Object01). I've changed to to ElmTrunk and then clicked on okay:
We just make a Trunk Mesh for our Elm tree! We still have the original Elm1 selected, but we do not need it anymore, so hit your Delete key and get rid of it (yes, do it).
Now select the 2nd Elm tree we made, Elm02, and in the Modification Tab, under View, remove all the check marks except for Branches:
Now repeat the above steps: Right click in the 3D window, convert to a Editable Mesh, Select all the faces of the branches, then Detach, and call them ElmBranches.
Then delete Elm02 mesh. We do not need it anymore.
Can you see the next part coming? That is right, select the Elm03 mesh, in the Modification Tab, remove all check marks in the View box except for Leaves. Convert it to a Editable Mesh, select all the faces, and then Detach them, calling it ElmLeaves. Then delete the last Elm03 mesh.
As you can see, we now have a Elm tree, that has 3 separate meshes, Trunk, Branches, and Leaves, each one under 20,000 Faces. Now all you need to do is apply materials and textures to them!
I did all this, but the Branches or Leaves mesh still has way too many faces! You will then need to edit the mesh again, select like half the faces and detach it again, so you end up with more than one set of leaves or branches. I have had to do this with some plants too.
Return To: Andy's Max Tutorials
