Important! Please read the announcement at http://myst.dustbird.net/uru-account.htm
Also! Please read the retirement announcement at http://myst.dustbird.net/uru-retirement.htm
Dustin's First Tutorial
General Age Creation Tutorial
Description
Few know this, but I was named after a mediocre D'ni writer known as Dustin(different pronounciation from what you'ld expect, of course). His sole aim, however, was to bend the Art to examine the elemental structure of the Natural World. To this end, terribly disruptive constructs would be introduced into an Age, hoping to gleam the expected behavior from what little data was still discernable after the Age was left tattered.
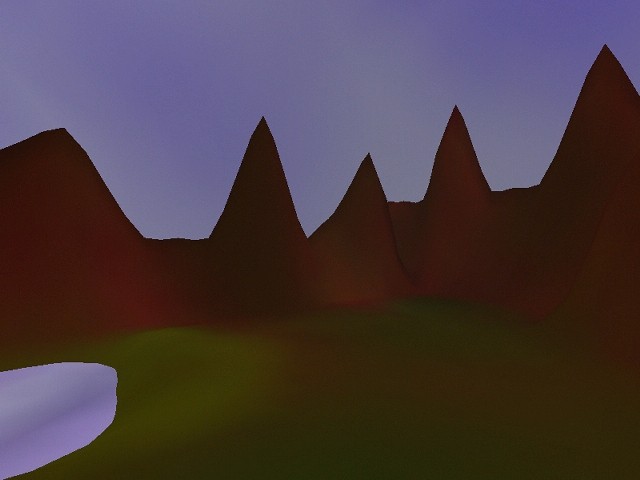
This Age was the first, a simple work to demonstrate his ability to write stable Ages. With this Age in hand, he could move on to the real reason for his interest in writing...
Author's Notes
This Age represents 8 minutes of work, to show people that it really is possible!
In blender, the box that shows "Edit Mode" or "Object Mode", also has "Vertex Paint". In this mode, you can paint 3D meshes. To choose the colour, you can make one of the view-windows a "UV-Image-Editor" windows, and select "View"->"View Paint Tool". This will allow you to set the color and radius of the brush.
The sky is a sphere that I painted blue and white.
The water is a grid-mesh, that sits below the terrain, and only shows up where it cuts through. It is also painted blue, black, and white.
The terrain was created by making a grid-mesh with about 30verticesX30vertices. Then I "Grabbed" vertices and moved them up to different heights. Then, still in Edit Mode, I selected all the vertices, then I used Mesh->Edges->Subdivide to make new vertices in between. Then I used Mesh->Edges->SubdivideSmooth to add more vertices, but smooth them out. There are probably better ways of doing that, though. Then I painted the meshes, as I describe above.
Files
Even though these files are free to download, and I encourage you to play with them and copy their methods(if you find that they work for you), I still hold copyright on these files.(ugly as they may be!)
PRPs & Blender Source File
